Thursday, October 29, 2009

Shapes

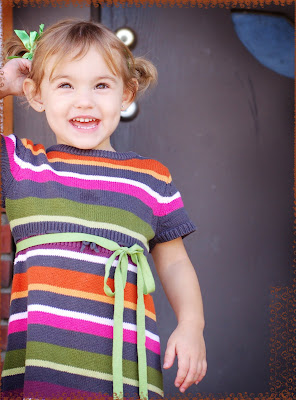
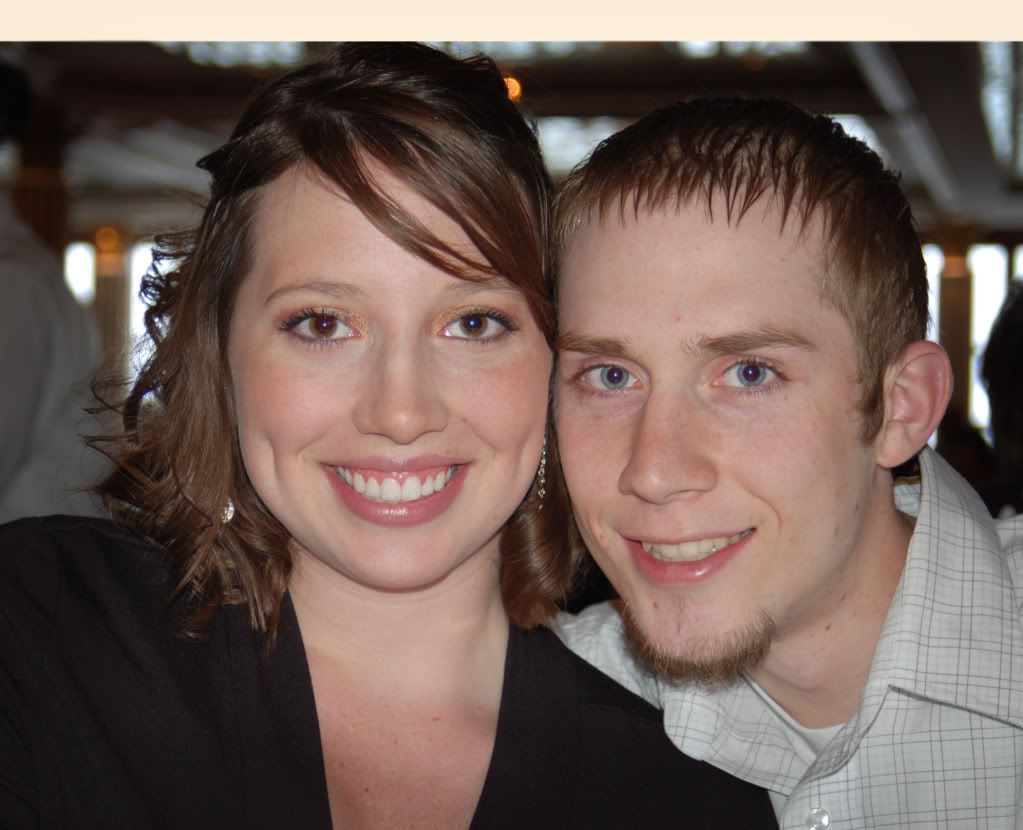
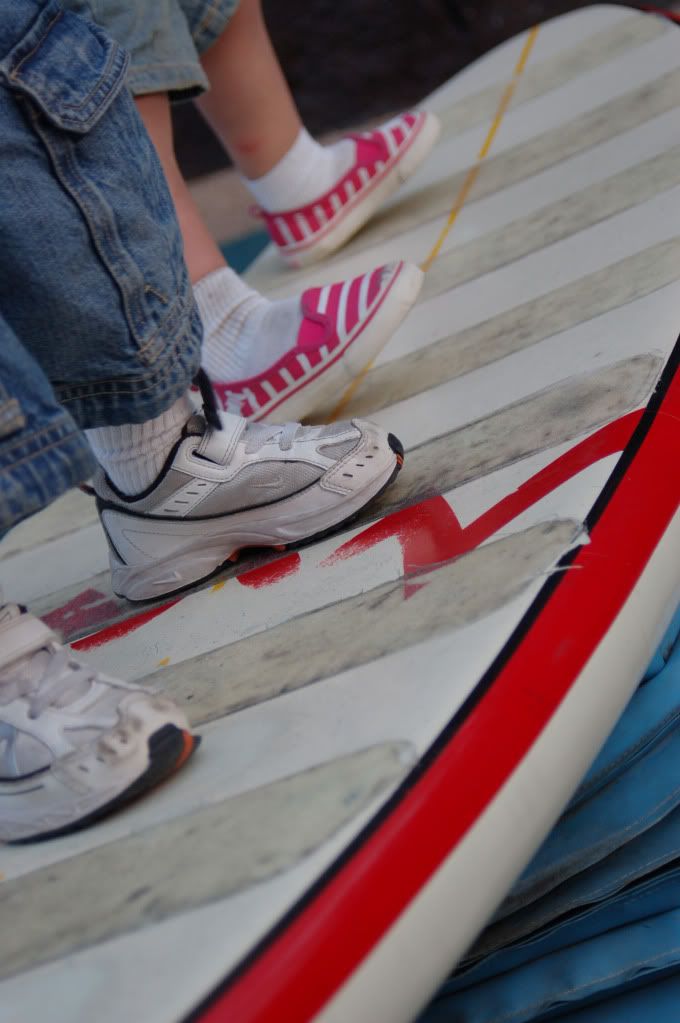
option #1
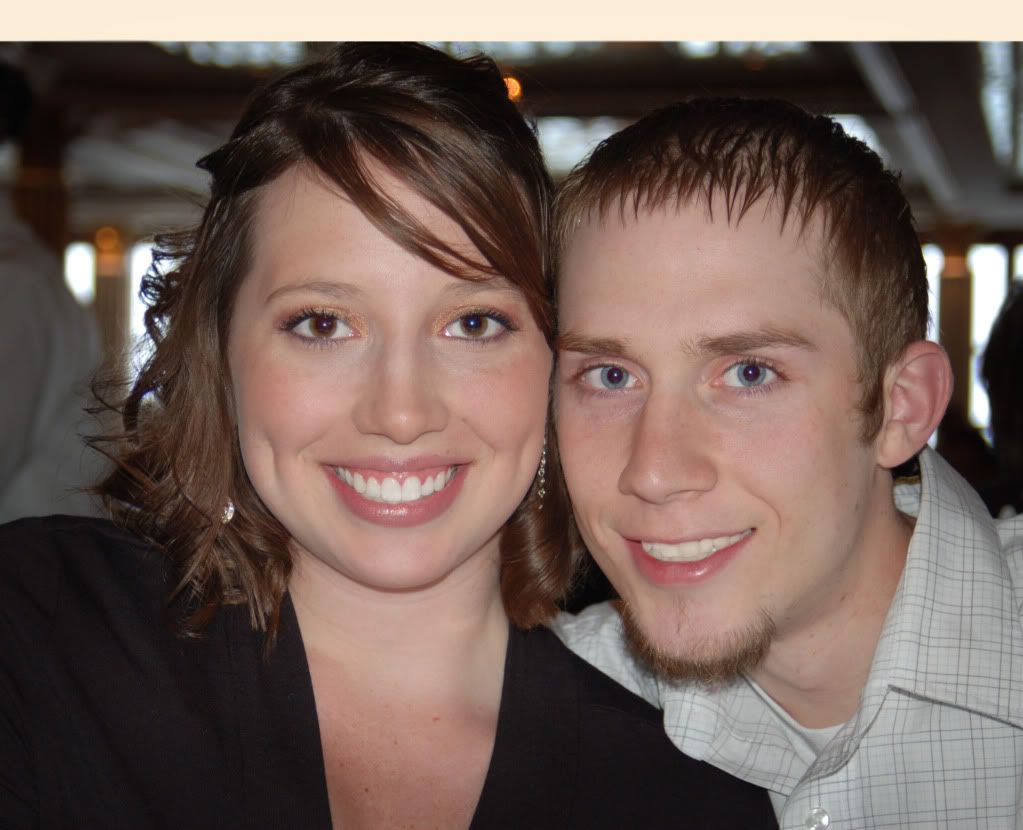
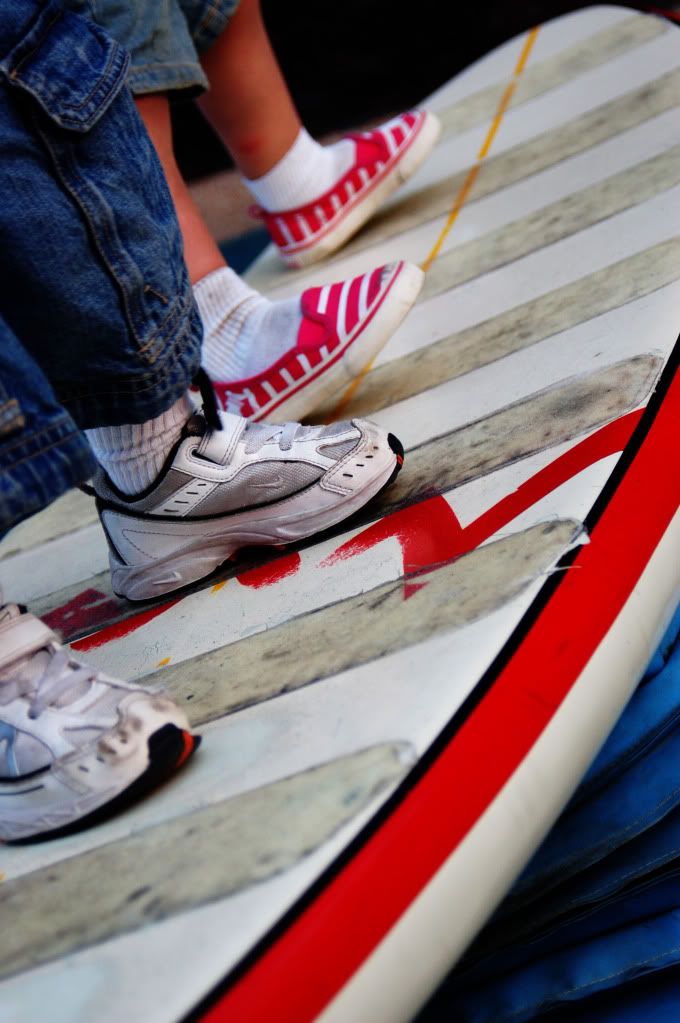
option #2

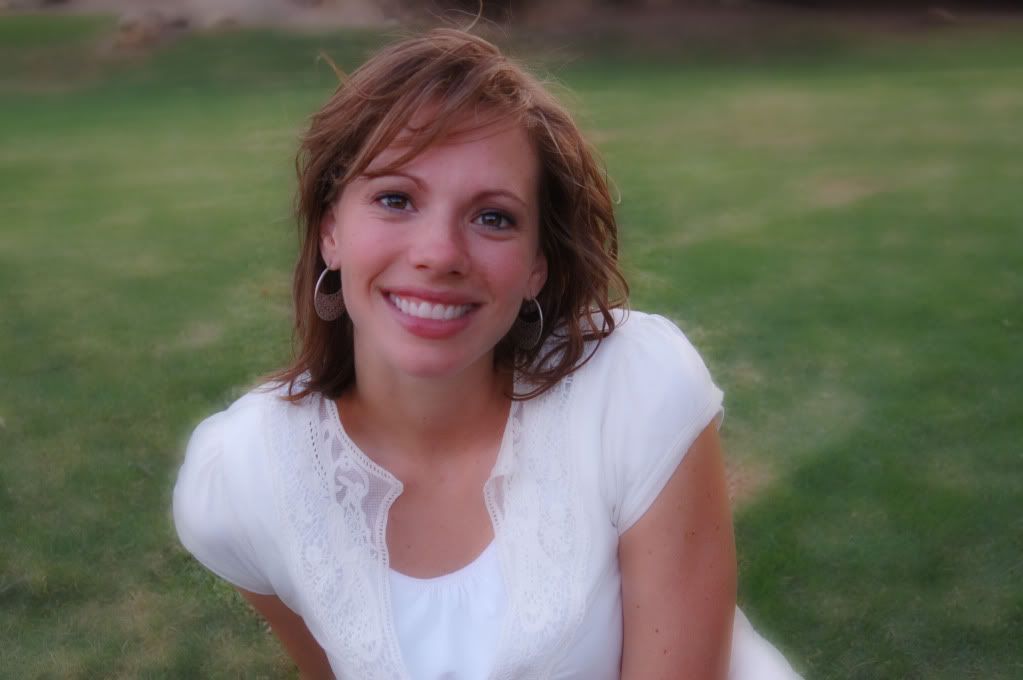
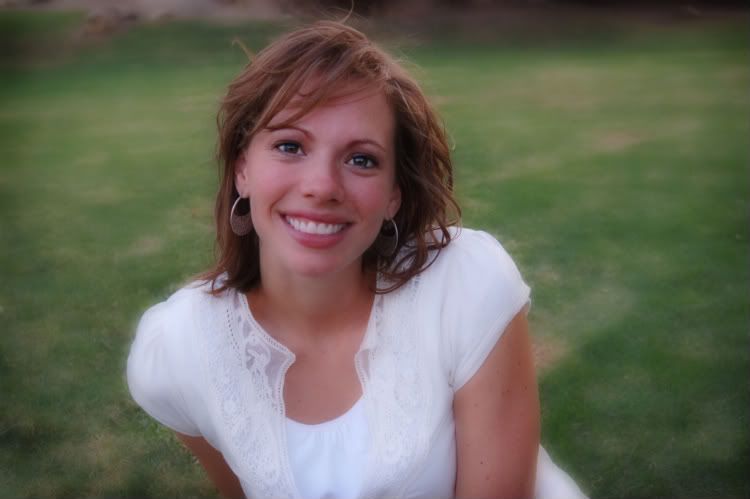
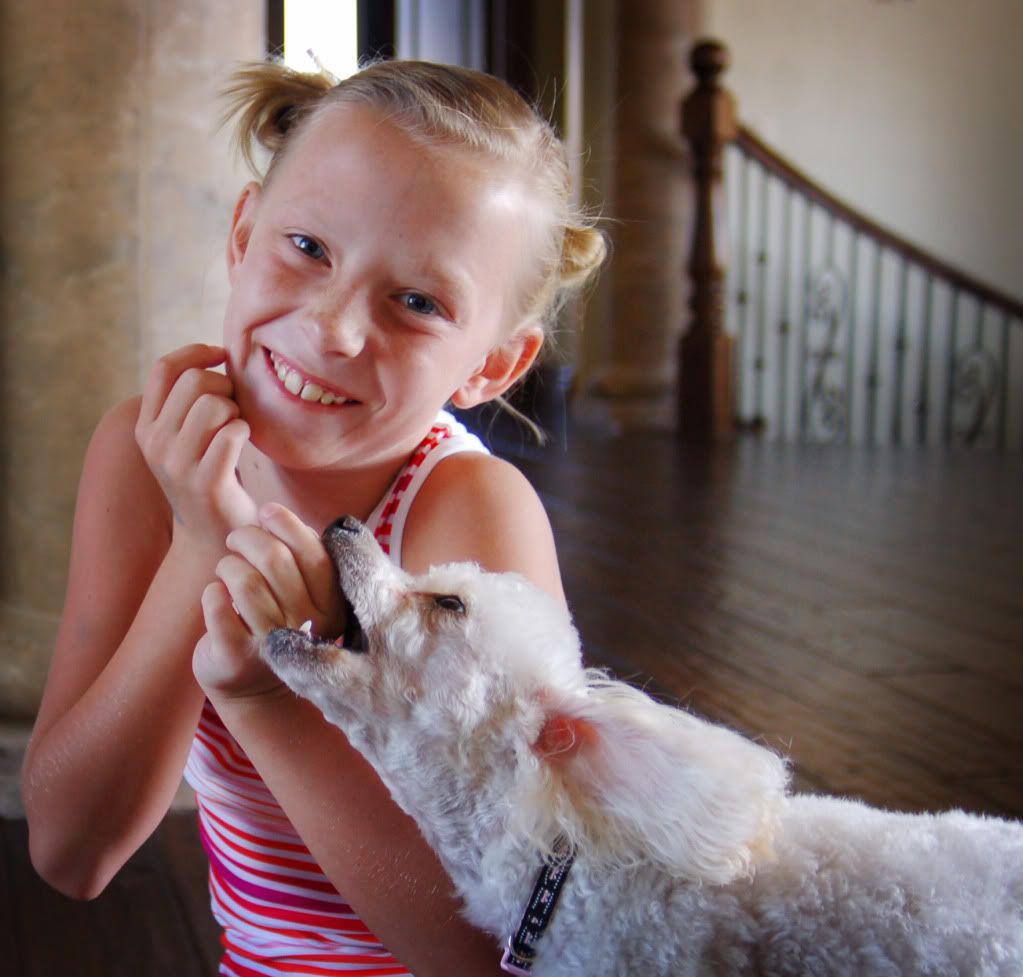
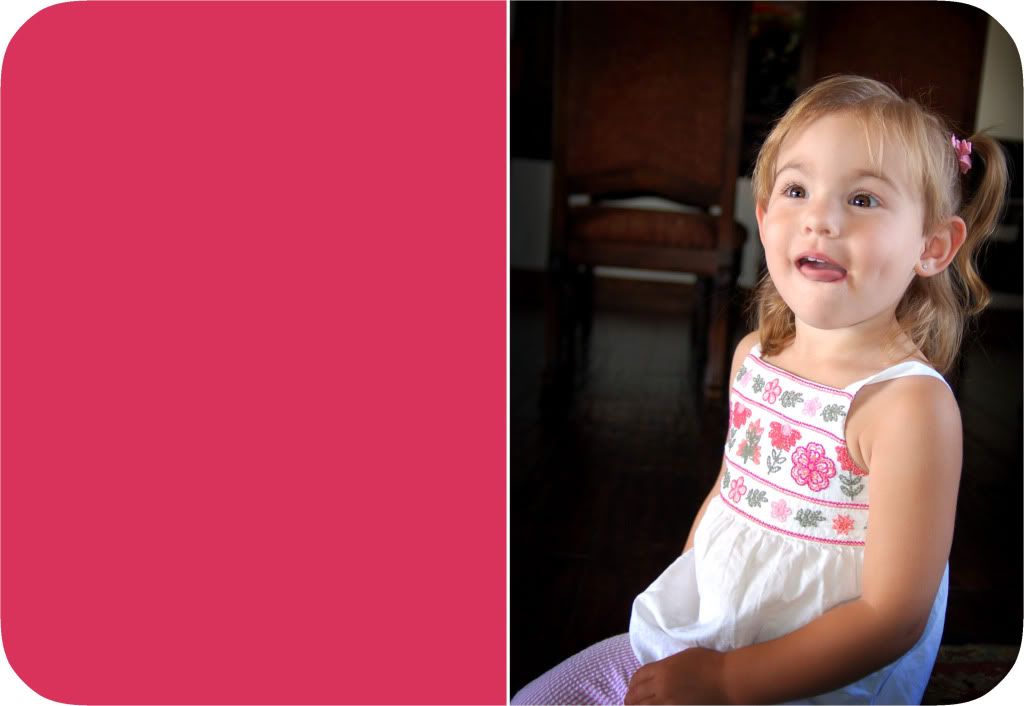
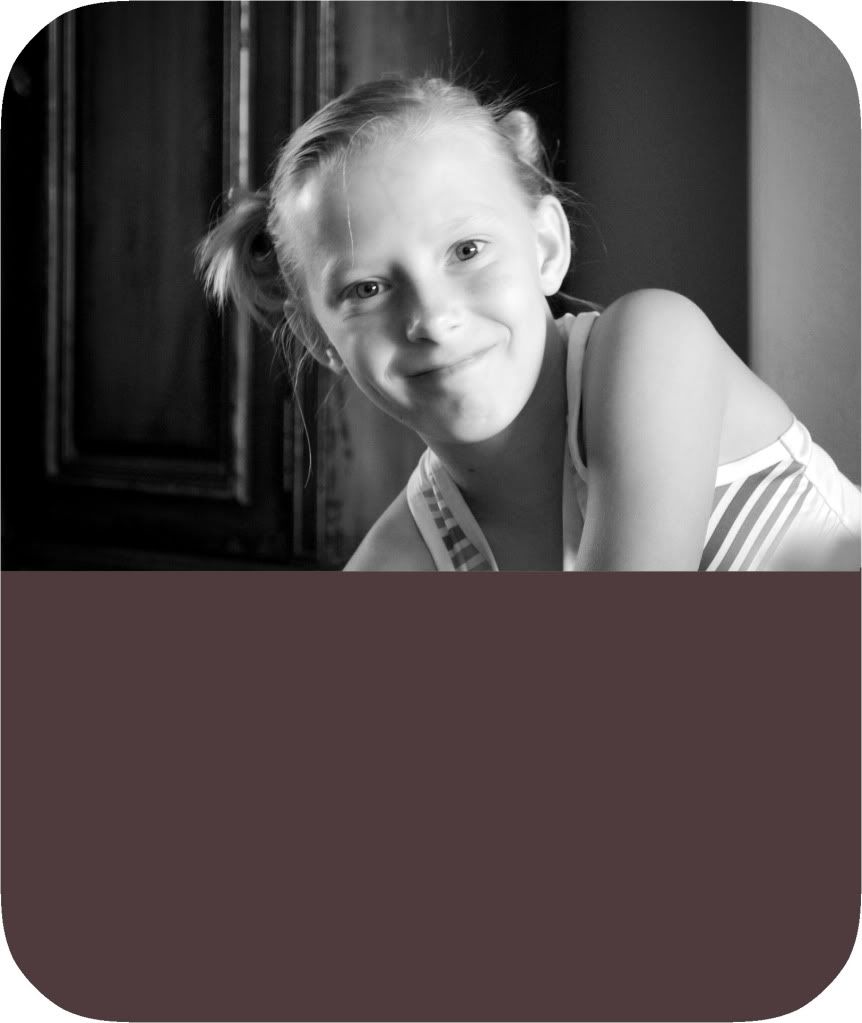
I had seen photos cut into really neat shapes, and I just had to figure this one out. Photoshop comes installed with several shapes. All you need to do is open a photo or scrapbook element. Click on your shapes tool, then drag it across your photo. Move the photo around inside the frame and resize to taste. Sounds easy enough.
But what if you have an element that is not a shapes file.....and you want the photo to lie within the shape of that element?
First I open the blank document and add the shape ontop of it. I place it where I want it. Now I need to remove the white part of the shape. So I click on my magic wand tool and click on the white space. It should select the white area. Now I just hit delete and the white area is now transparent (checkerboard). Now I will flatten all images. Now, I double click on the only layer (the background layer) and rename it anything I want. By renaming it, It isn't locked anymore. I click on 'make a new layer' and drag that layer below my original layer. I add my photo to that new layer. Because this layer is below the layer with the shape, the photo is peaking right through it, just like a frame. Tricky, but once you got it, you got it. I just love these bracket frames.
To download more shapes, check out www.ladyoak.com. She has more than just shapes so check it out.


Tuesday, October 20, 2009

Bokeh and my new Nikon50mm f1.4


------------------------------------------------------------------Bokeh simply means when the background is blury....in otherwords, it is the out-of-focus area typically in the background. This allows the photo viewer to focus on the primary subject and not the distracting background.


So in the photos below, I wanted to get some Halloween pics of my daughter, but didn't want to travel for the 'photo shoot', so I did these in fron of my house, and using my new lens.......................the Nikon 50mm f1.4, which I love, it has such a high aperature, it is great for portraits. It allows the subject full focus and the background the BOKEH.


------------------------------------------------------------Now in this photo, because my daughter is standing very close to the background, then it is going to be in focus as well, though.


This lens is so fast, and is great for low light situations. I love the shallow depth of field it provides. I just have to get used to not zooming in, as it is set to f1.4.

Sunday, October 18, 2009

CliPpinG MasKs and Using a Brush as a Die-Cut


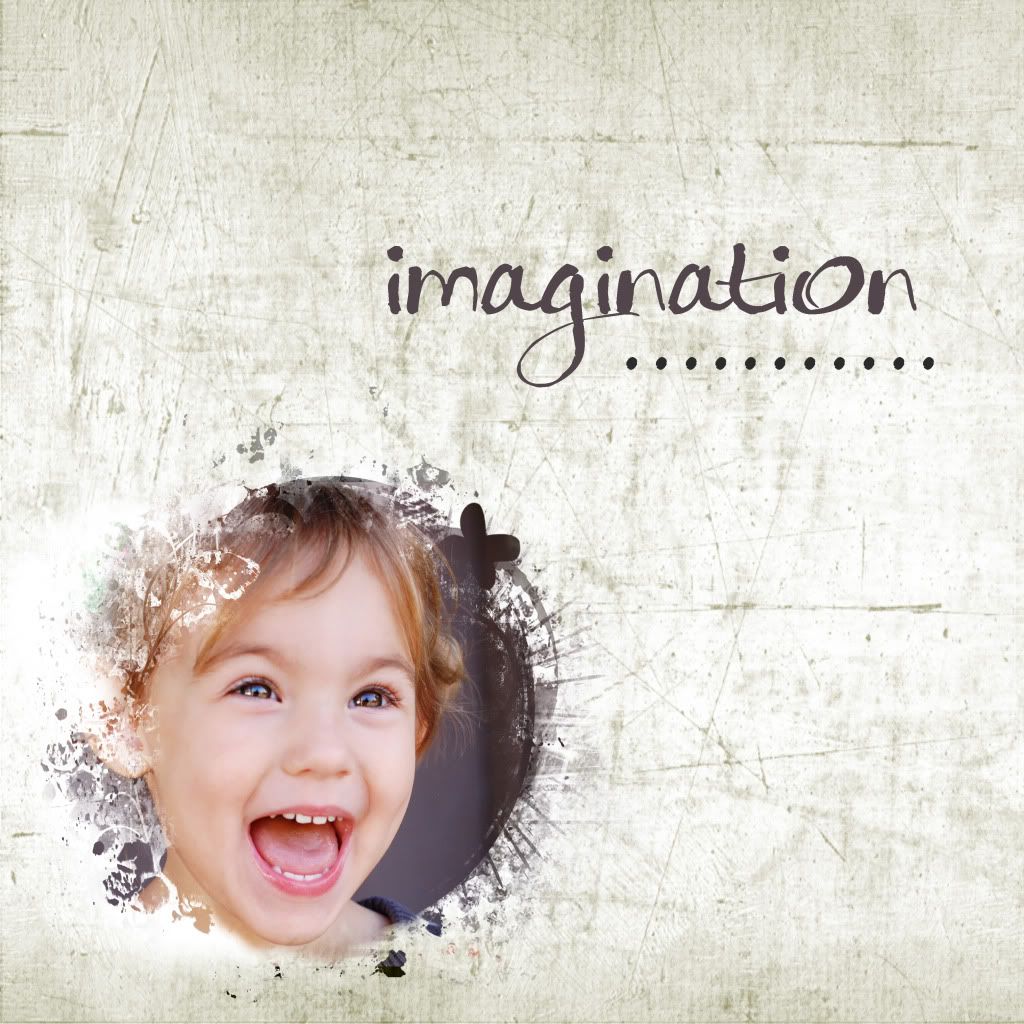
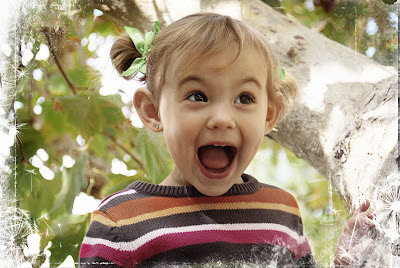
In my previous post titled 'How to get grundgy edges', I discussed using clipping masks as an option. As you can imagine, clipping masks can come in any design. In the below photo I picked an orange color from the photo to use with my clipping mask, so that the photo blended well together. See my tutorial from the previous post on how to use clipping masks.

Obviously, in the two photos below, I used a white colored clipping mask.I used the photo below for the FIRST image you see in this post. Once I attached the clipping mask, I dragged this image onto a white blank document. I added a dark scratch overlay (using a layer mask to erase the effect of the overlay from the photo) and then added some fun text.
I subscribe to thedigitalscrapbookteacher.com. I own her book which is where a lot of this started. (See my previous post titled 'computer smarts???? Here is a Start'. Each month she emails a newsletter with great scrapbooking tips. Here is her latest one. If you like it, subscribe at her website for more.

Open your software and open a new blank document at 300DPI, white background, RGB color.

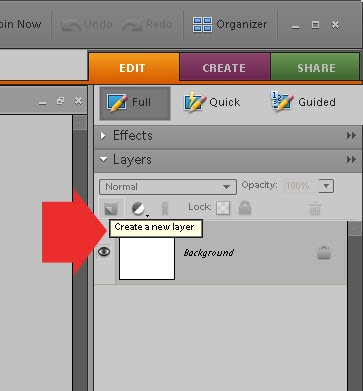
Click on the 'new layer' icon in your layers pallette.
Now, pick a brush and stamp it directly onto that new layer. In this example a SEA HORSE will be used.
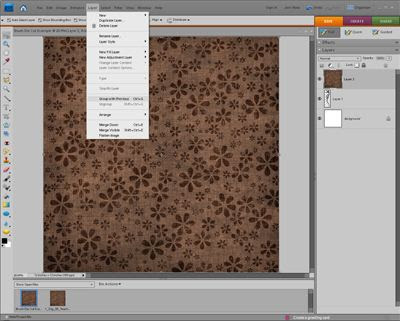
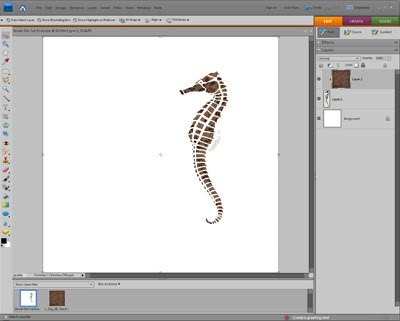
Now, open a paper of your choice (this example is using a flowered brown paper). Once opened drag in down onto the brush stroke in the project bin. It will appear that you have two pieces of paper open in the project bin, but if you look to the right in your layers pallette, you will see 3 layers, with the paper layer on top (which is why you can't see the Sea Horse brushstroke anymore)
Now, with the paper layer selected click CTRL+G (which will group it with previous). You paper has now taken on the shape of your brush.

Sunday, October 11, 2009

Backgrounds for photos

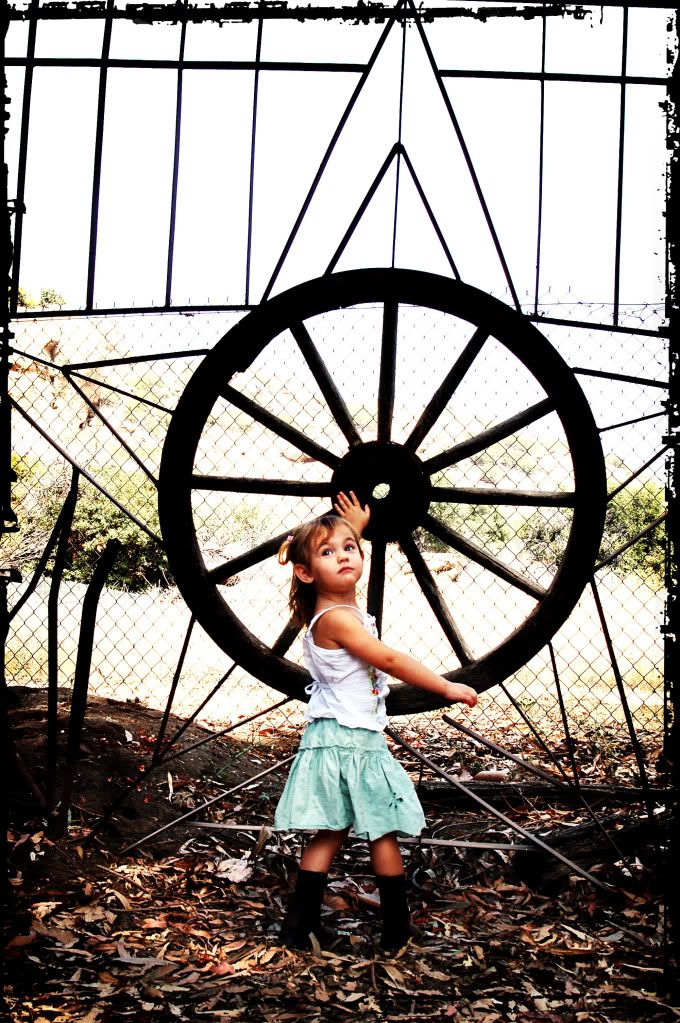
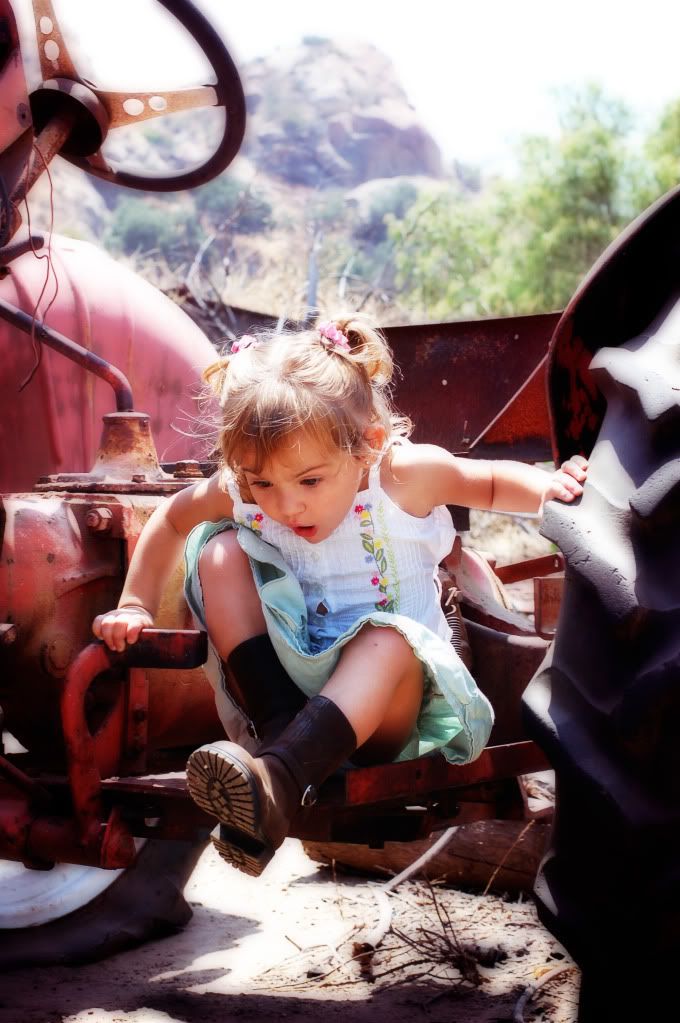
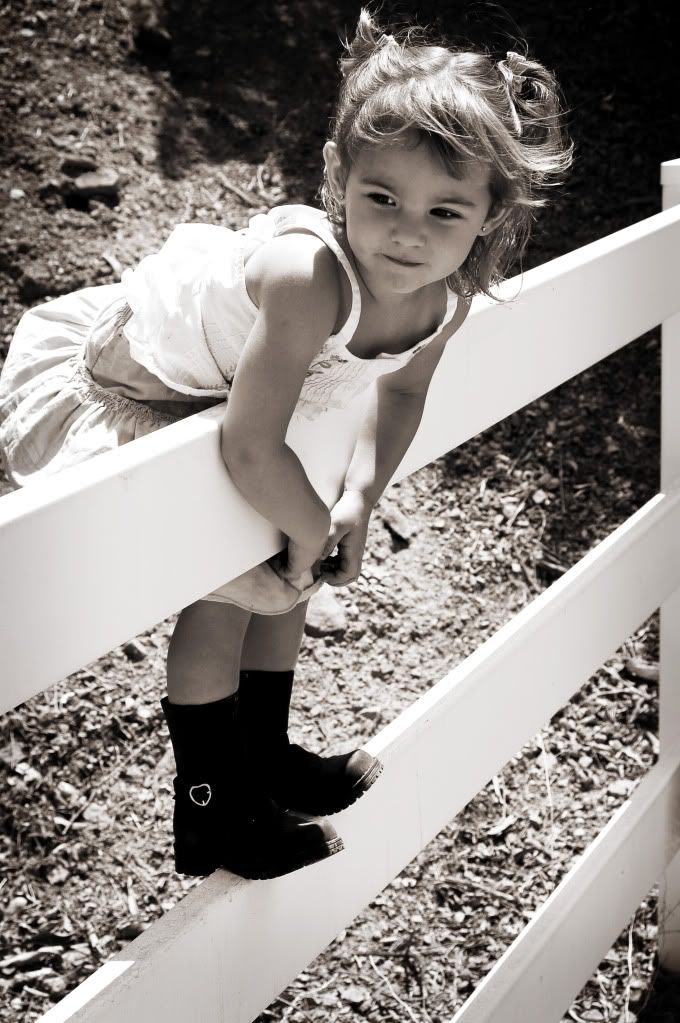
Sometimes if I want a great close-up portrait, then the background isn't that important because I use such a high aperature, the background is usually so out of focus, but for full body shots I love finding fun backgrounds. I am into rustic, urban, distressed backgrounds. In these photos I used an old fence, an old tractor, and this Star fence.

Sunday, October 4, 2009

other projects to do with photoshop

Yes I use photoshop to enhance pictures, make digital scrapbok layouts, but I use it for EVERYTHING. I even use it in replacement for Microsoft Word sometimes.


Here is my list of things I do with it:

1.make business cards. In photoshop, I can turn the rulers and grids on, so that I can measure exactly how big each card should be. I can use differnt fonts, brushes, etc. to decorate it.
2.make Cards. I LOVE THIS. I make valentines card (see below), Halloween card, even our family Christmas Card. Why use a pre-set design from costco that everyone else might use. This way I know my design is unique.
3.Announcements like baby announcements.
4.Invitations. You can type all the details for where, when, etc. with cute picture and background design. Or check out these book labels or gift tags.
5.Labels for parties. I've made labels for an ice cream buffet one for the flavors, the condiments,etc). I've downloades FREE labels from eatdrinkchic.com, like this one below. And I printed it on sticky paper and adhered it to cute oil and vinegar bottles and gave it away as a gift.
6.I even use it to make "tickets" to a 'dinner-cruise-theme party' (see below). I print on a heavy cardstock, then cut them out.
And the list could go on. If you haven't purchased PSE by this point, think again.

Monday, September 28, 2009

How to get Freebies

The hobbie of digital scrapbooking really doesn't have to be that expensive. After the purchase of a good How-To book and good software, you could really just download a bunch of freebies if you wanted. A lot of sites offer freebies, some good , some bad. Over on the right sidebar I have a list of digital scrapbooking sites. Click on each one, then look for the word free, freebies, downloads, and you are bound to find something for free.

At 'digital scrapbook pages' they are giving away this digi-kit for free. click on the link.


At free digital scrapbooking, look on the left where it says freebies and there are tons to pick from.

At 'Shabby Princess" click on the word downloads and you will find several kits, including this one.


At "PepperMintCreative "they release a new free digi-kit from time to time, so check back every other month or so and click on FREE. This is the free kit for this month. Download it from their site.


At 'ScrapGirls' they offer a monthly membership in which you get tons of freebies all the time for a very low cost membership fee. They offer this kit for free download


At 'Shabby Miss Jenn Designs' they offer a few freebies like this one below. Just click on the Shoppe and browse for the word GOODIES.
Now there are many other things for free. Google to find Free Brushes, Free Fonts, Free Shapes, Free Textures, etc.

Sunday, September 20, 2009

Grundge Borders, Frames, Clipping Masks,etc.

People are always asking me how I distress the borders of my photos. Well, there are several ways to do it, some easier than others. I will explain 4 different ways.


with a Brush


scroll down to my post about "Brushes". It explains it better. But a brush is essentially just like if you had a rubber stamp. I downloaded some 'grundge' and 'cracked-edges' brushes and just easily stamped it right onto the photo. In this picture I stamped in white.


Paint or Pencil tool


You could also select your paint or pencil tool and just draw or paint right onto the photo. In the picture above I just drew a bunch of diagonal black lines over the edges of the photo.


Actions


You can purchase or find free "ACTIONS" that do the work for you. You just click on the action and hit 'apply to photo'. See my post titled 'actions into actions' if you are not quite sure what they are. In this photo I applied a free action from the "COFFEE SHOP" in her borders collection. The link to the coffee shop is on my sidebar.


Digital Scrapbook Supplies


Very easy. A lot of digital scrapbook sites sell frames or you can find some free frames for download. I found this cute poloroid frame made by Andrea Rascaglia here....IT IS A FREE DOWNLOAD and she has several. Just click on this link. You just open your photo into photoshop, then click on file-place, and it will search your computer for where you saved the frame you downloaded. Once found, click on place and it will be placed onto your photo and you can then free transform it to fit.


Clipping Masks


ok, this is the hardest one to do, but I love the effect it gives. First off you have to download a clipping mask. Once in photoshop, open up a blank document. Then open up your clipping mask and drag it onto your blank document. Then drag your photo on top of the clipping mask layer. (at this point you can't see the clipping mask anymore, because the photo on top of it is hiding it). Now you just have to group the photo to the clipping mask. First: right click on your photo layer and simplify it (or else it won't group). Second: use the shortcut CTRL+G which is the shorcut for 'group with previous'. Now the two layers are merged as one.

I got these two clipping masks seen in the two pictures below also at the coffee shop. From her site, click on goodies, scroll down and click on frames, then scrool down until you find the place to download her clipping mask collection. She gives a more detailed, step-by-step tutorial on how to download and use all of her products.


Monday, September 14, 2009

Powder Room

The first thing I will say about this is DO NOT GO CRAZY WITH IT. Powder Room is to enhance a photo, but not to make someonw look totally alien. The first picture is the before. If you look at the AFTER you can see the subtle changes to make a good portrait. I whitened the white part of their eyes and added eye definition. I smoothed their skin and used the clone stamp to remove blemishes like zits. I slightly whitened their teeth as well. It just cleans it up so people look their best. Obviously you could go to extremes and remove wrinkles, even cellulite, but I don't believe in making it look too unnatural

Thursday, September 3, 2009

"You don't nee no stinkin' FULL VERSION photoshop"

I so badly wanted to copy and paste pics from this site, but you can just click on it for the whole article.
Sure CS has more options, but it is also SOOOO expensive in comparison to $50-$100 that photoshop elements is.
You can see from this site, that you can definitly achieve great results from elements, especially if you download a layer mask (which is not offered in elements)(SEE MY POST ON LAYER MASKS).

Saturday, August 29, 2009

Simple way to make a Photo go from blah to wow!


This photo is SOOC (straight out of the camera). But it just doesn't do it for me. 2 simple ways to make your photos pop have to do with correcting color.

Option #1 correct color curves (in the above picture on the RIGHT). In photoshop select to adjust color curves. (Enhance--adjust color--adjust color curves) You will see a diagonal line and 4 sliders. Move the sliders until the sraight diagonal line looks more like the letter "s". You should see a difference as you will in the below photo with the color curves adjusted. Much brighter and pops out at you.


Option #2 might pop even more. In the photo below I changed the levels layer. Go to layers--levels layer. A box will pop up with 3 eyedroppers; black, white, and grey. Click on the black eyedropper and drag it onto your photo and click on something truly black in the photo. Then do the same with the white eyedropper. You are essentially telling it what black and white look like, so it will adjust the color in the photo accordingly. You may have to try it a few times to get it looking right. Sometimes the effect is too drastic and you may need to find a different black or white tone in the picture. You'll figure it out. The picture below was done this way and is a lot brighter than the previous. Which one do you like best?


Friday, August 21, 2009

Vintage and Lomography

I don't really love the actual photograph itself. It was a crazy hot day, and she didn't want to sit and pose.....but I loved the background and wanted to try to photoshop them for a vintage and lomo look.


Vintage-color


Vintage-Black and White


Lomography

Monday, August 17, 2009

What would I do without a "Layer Mask" ?

I am so thrilled to have a layer mask. Here is what it is? Let's say you want to add an ethereal glow or a blur to your image. Well, I tried this. I would make a selection around the person in the picture and then blur everything else. Even with a soft brush, it looked horrible. You could see the exact circle I drew around the person. Layer Mask saved me.
Essentially you can add any action to your photo, then you put a "layer mask" on the action layer in your layers pallette. You can then use the brush tool at a really low opacity and softness and by brushing over the person in the photograph, it will remove the effects of the action.
Here is a the original. I added an ethereal glow by Dave found at deviantart.com. Then I made a duplicate layer, so that I could add a gaussian blur to that. I then put a layer mask on the blur layer and removed the blur and glow from the face.


Here is with the effects added. You can see how the background is blury with an ethereal glow, but the person is not.


Here is the finished product with a little bit of powder room. I made the EYES stand out more. I also removed some discoloration in the lips using the clone tool. And of course, a little bit of burning to the edges.


So if you have photoshop elements like I do, then you may be confused on how I have a layer mask. Elements does not come with them. But the nice people over at coffee shop action, (see my side bar for the link) made a layer mask action for free. Thank you, thank you, thank you.

For a wonderful full tutorial on how to use layer masks, and what they are, click here on the pioneer women.

Monday, August 10, 2009

.:*'.:*Catch Light..*.:.*.., Paint Chip Photos, Rounded Corners


When it comes to portraits, I believe the single most important thing is the eyes. You want people to zone right into them. I am working on trying to get better catch light (meaning: when there is a small white glistening in the eyes produced from a light source.)

I know some people even create more catch light by reflecting light off of a white poster board and onto the person's face.
I am still trying to find the best places in my house and time of day to get the best catch light.

There are also ways that you can make eyes POP in photoshop. Now without making the person look alien-ish, you can magnify the image to the eye area. Use the burn tool at a low opacity and burn the edges of the iris and also the entire pupil. Then you can use the dodge tool, also at a los opacity to lighten the iris just a little bit. This worked really well on my blue-eyed sister to make her blue eyes more vibrant. But my daughter's rich chocolate eyes did not work because it made her look to alien-ish. She is meant to have rich dark iris'.

Paint Chip Photos and Rounded Corners
I found a great action that will round my corners with one easy button and saves me the work. I love the look of it. I also like to attach my photos to a solid color, almost like a frame to draw the viewer to the color in the photo.

Tuesday, August 4, 2009

Sorry I've Been Gone


Well ya know how summers are.......busy. But that doesn't mean I don't have some pictures and tutorials to share.
I am SOOOOOO excited. I am waiting for my new lens to be shipped. I have a standard 28mm-80mm, a zoom 70mm-100mm, macro lens, but nothing with an aperture greater than 3.3.
I got the 50mm f/1.4D. They recently just made the same lens in a G-series. But I think the D will be just fine. It will provide great bokeh, a great portrait lens because it is so fast. Soon to come, I have some posts on rounded corners, paint chip photos, catch light/making eyes pop, and using a layer mask and how to use one in PSE.............and much more, so stay tuned. In the meantime I came across some photos I really liked that were taken by my sister-in-law, Cassie a couple years ago. The only little thing I did, is that I did a little photo-shopping to Malissa's eyes in the picture with the butterfly. Cassie is my go to person to talk to about lenses. She loves photography and has entered some local contests and won. Way to go!!!!!!