Tuesday, December 29, 2009
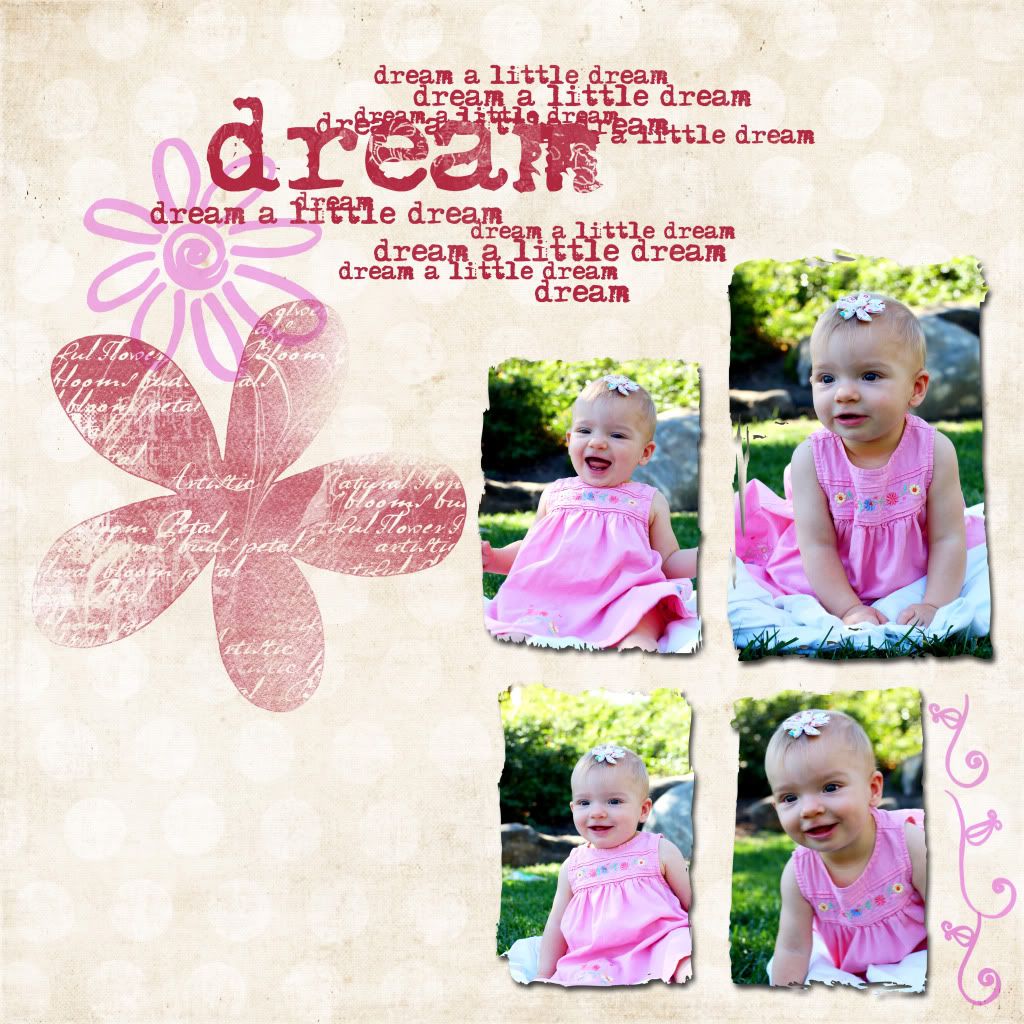
templates
I really love to personalize my own scrapbooking pages, like the one below. I used a ligth polka-dot paper for the background. I used brushes to stamp on the flowers and the text. Then I used clipping masks to create the shape of each photo that got plopped onto the page. But Several designers create cute, gorgeous,read-made templates with fabulous designs and all you have to do is drag your desired photos to the template. You can even create templates yourself. Check out some of my previous posts for links to scrapbook and photo websites. Many have templates for free download and some have them for purchase.
Out of Focus
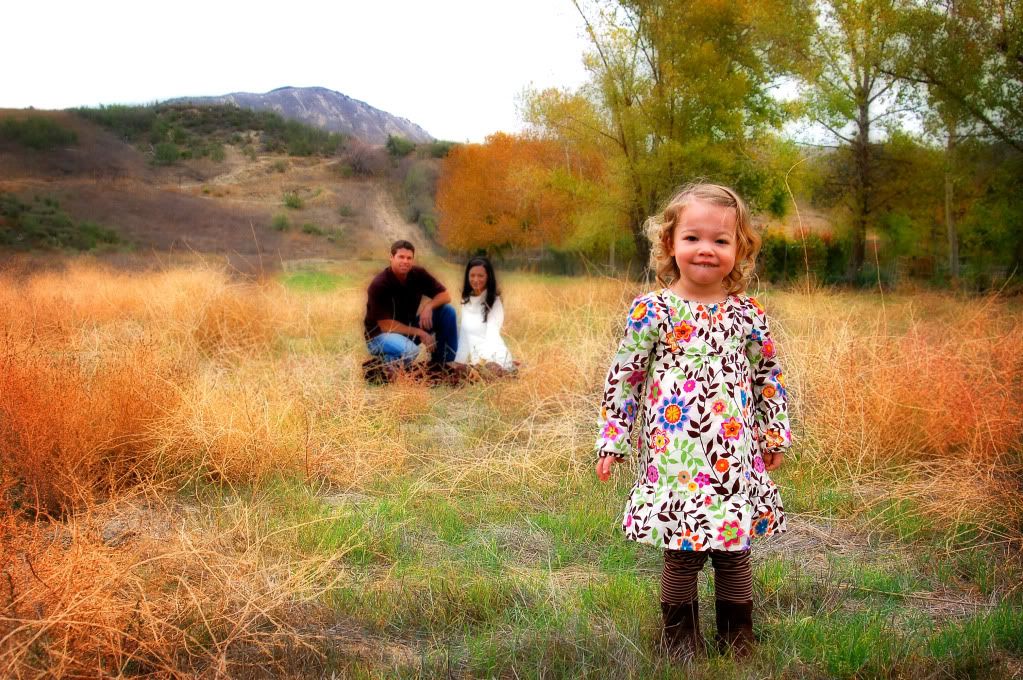
I love the mysterious element of things out of focus. My husband purposely focused on the leaves in the foreground, pushing me out of focus.....i love it.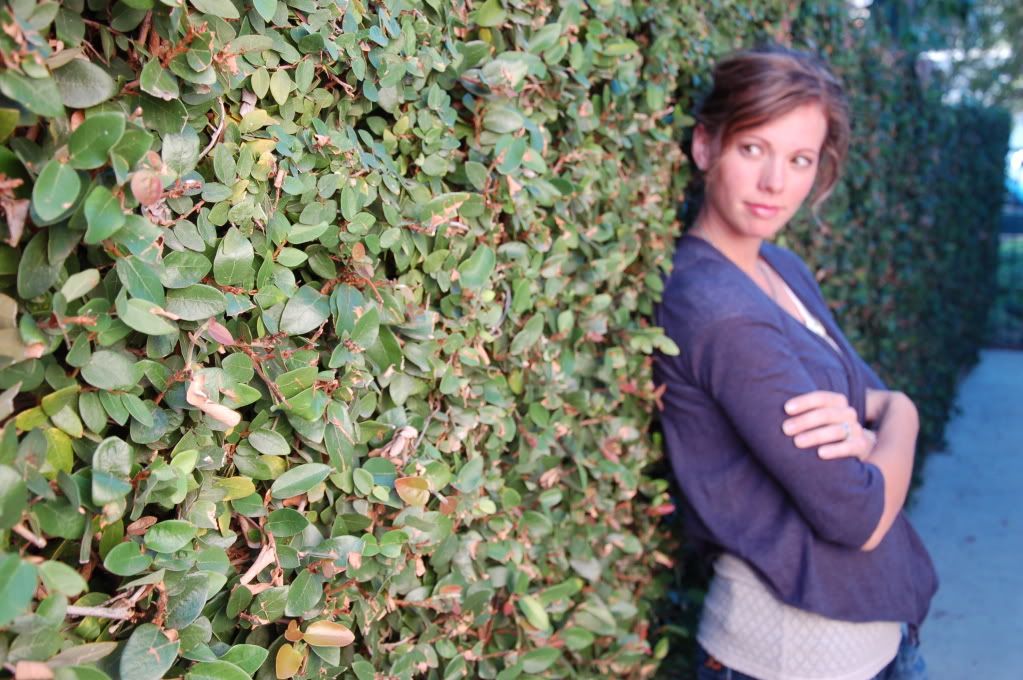 I wanted to highlight this cute little toddler, but I wanted to give her a sense of belonging, so I put her parents in the background, out of focus to give more of a story to the photo.
I wanted to highlight this cute little toddler, but I wanted to give her a sense of belonging, so I put her parents in the background, out of focus to give more of a story to the photo.Saturday, December 5, 2009
What's your style
I love this bridge for a larger family pic, like these below. But I am trying to decide my favorite style. All three pics are the same.
original-

a pop of color and contrast- (perhaps the high contrast background is too distracting)

a little more creamy background-(I think I like this one the most!!!!) What do you think?

Friday, December 4, 2009
Nothing's Missing

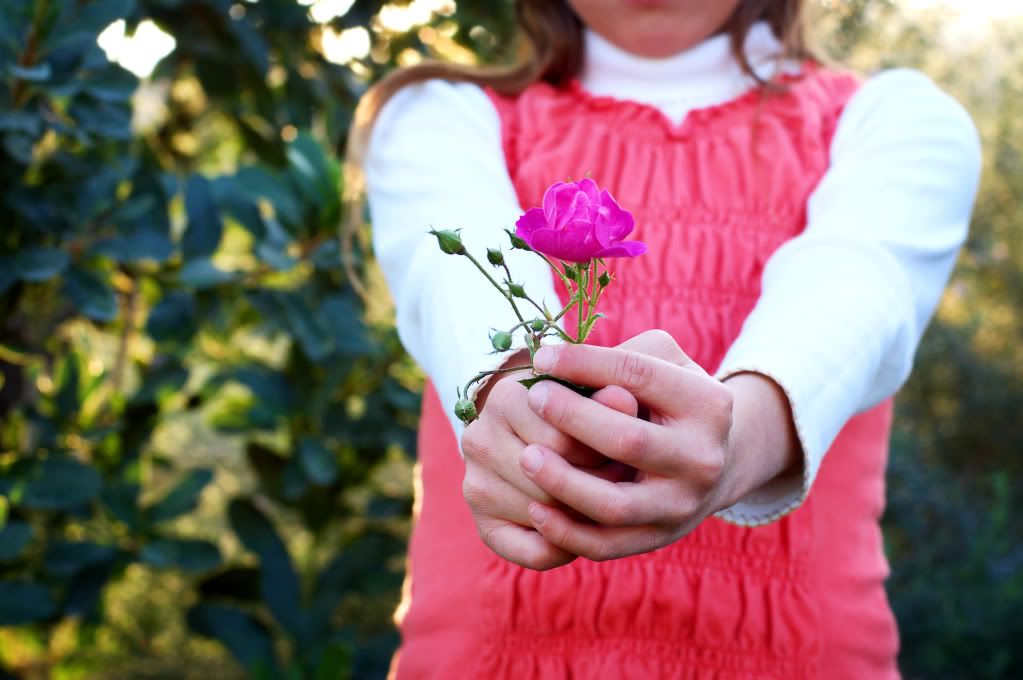
I don't know why I am so fascinated with taking pictures of just half a person's face, or their lower half only, but It begins to tell a story, but leaves it somewhat mysterious. I just LOVE this picture with her hands placed perfectly on her lap. It seems so priceless to me.
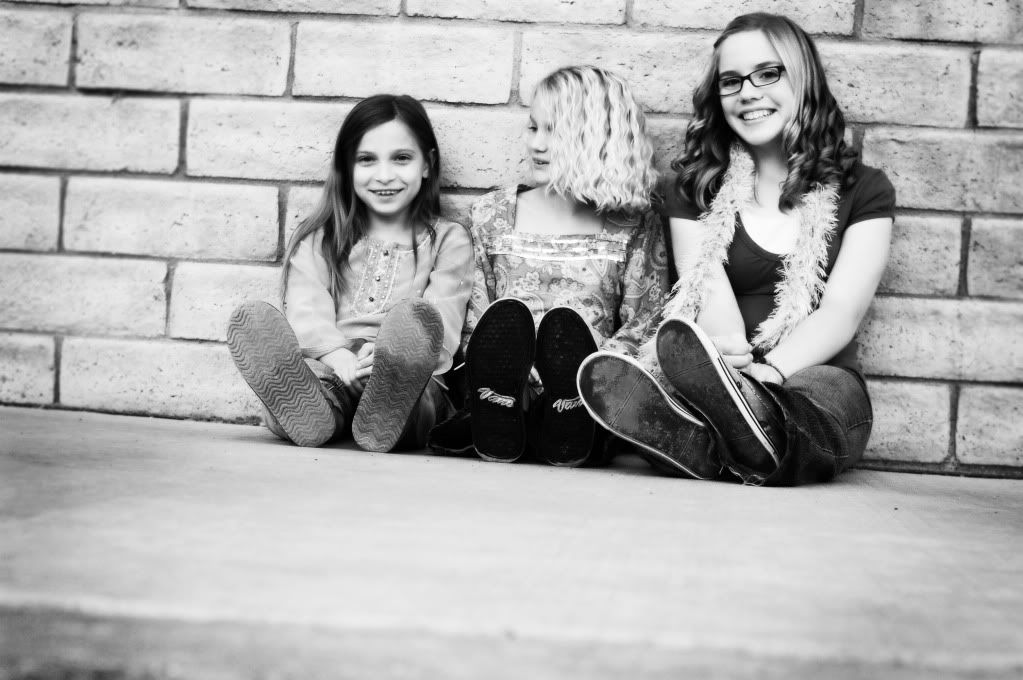
Going Candid and trying new Angles
 I posted some sneak peak pics of these gorgeous girls, discussing the use of sun in the photo to give it a very unique look. Well later in the day of picture taking, the sun went down when the girls did a clothing change. So I went for more of an urban feel and tried new angles. I laid on my stomach and shot the picture below very close to the ground and I absulutely love the way it looks from this anle. I asked the girls to stop 'posing' and just be themselves to capture a moment, rather than a posed shot. There is something so precious about these candid moments.
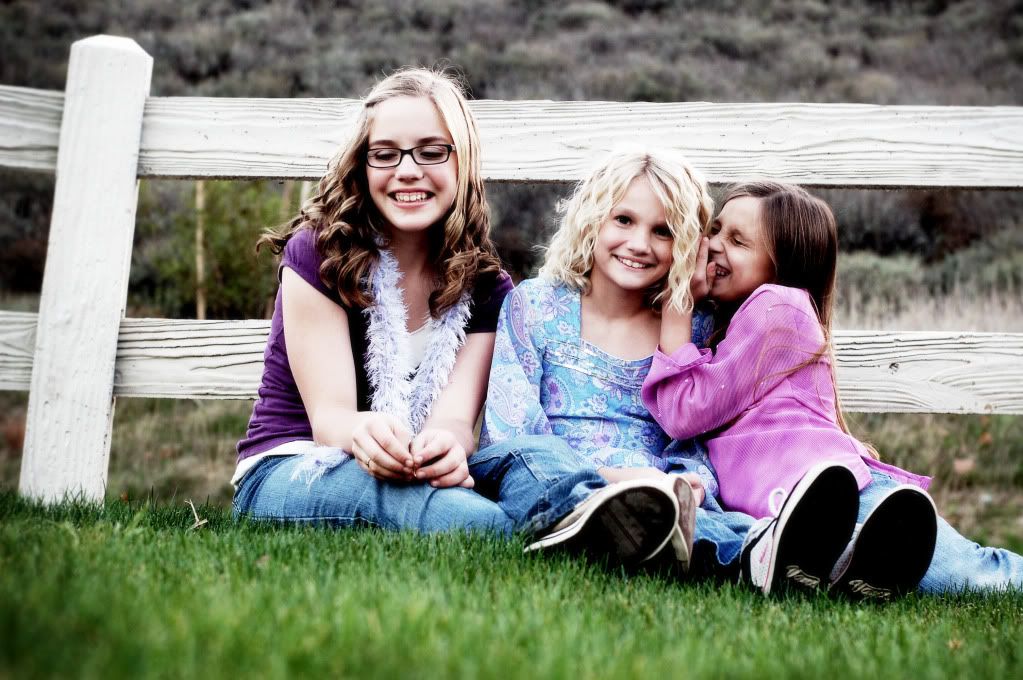 Ok, so the pic below is posed, but I just love her eyes, I just had to add this pic to the post. If they have green eyes, get some green in the background to help them pop, same with blue eyes. It's just a little tougher to find blue backgrounds.
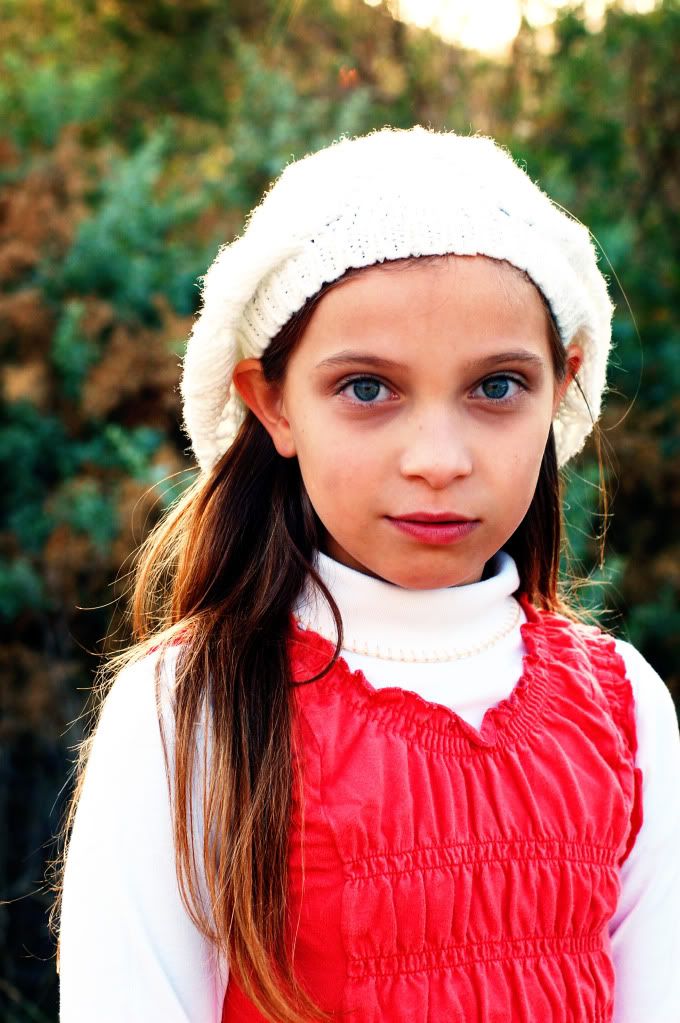
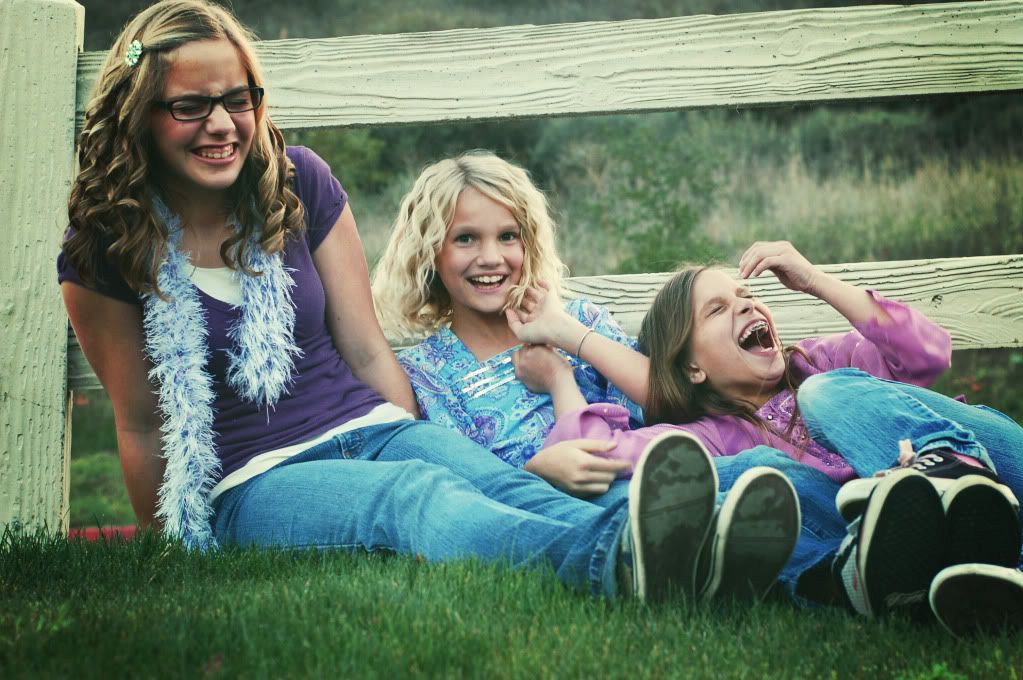
Once again the photos below are shot from a really low angle and are candid, making this photo a fave.
I put more of a retro look to this one. I just loooove the look of retro.
Thursday, December 3, 2009
how to make your own unique brush
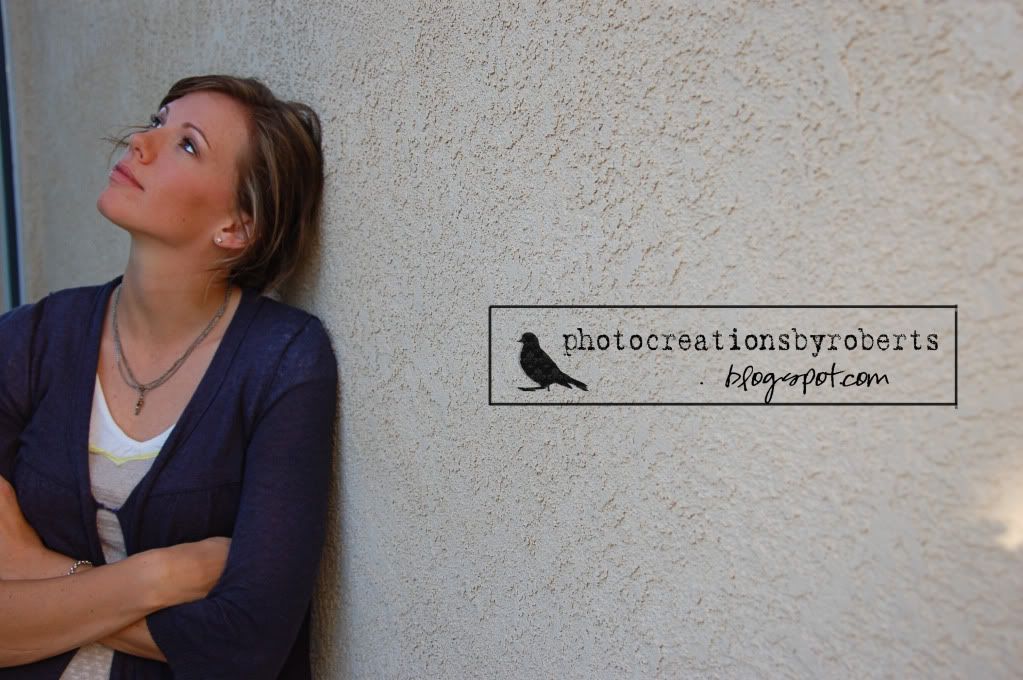
The logo you see on the photo above is a brush I made myself. Here is how I did it. First I opened a picture of a bird, see photo below. Of course, you could always draw a custom logo and scan it instead.
.JPG)
Then I took the magnetic lasso tool to carefully select the shape of the bird. I continued to expand the selection until I had it just right.
Next, I opened a new blank file to go on top of the bird selection. With that new layer selected, I clicked on my paint bucket tool (set at black) and then clicked on my selection in the photo. This then turned my selection all black, see photo below.

I then dragged the bottom layer (background layer) to the trashcan, since I do not need it anymore. Then I opened a new blank file at 2 inches tall and 10 inches long. I dragged my new black bird on top of the new blank file. I used a white damask brush at 50% opacity and stamped a pattern onto the bird. see photo below.

Then finally, I added some text and I used the line tool to draw a box. Now my brush is ready. I clicked on select--select all and then edit--define brush from selection. I named my brush and hit ok. Now my brush is the last brush in the brush pull-down menu. Now I just stamped that brush onto the first photo in this post.
Subscribe to:
Posts (Atom)