Saturday, August 29, 2009

Simple way to make a Photo go from blah to wow!


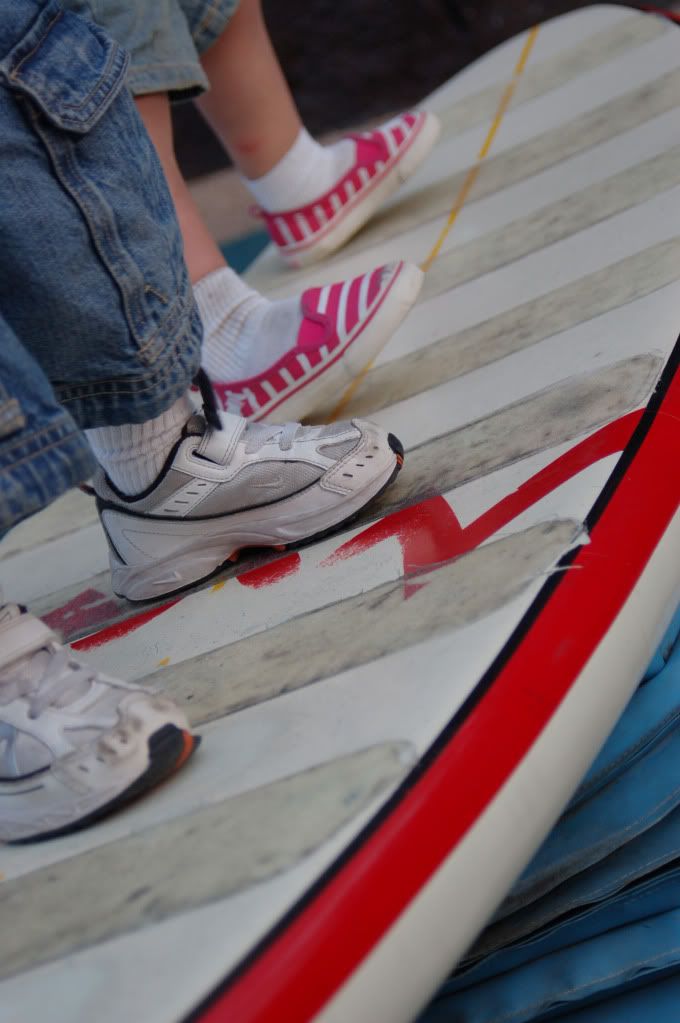
This photo is SOOC (straight out of the camera). But it just doesn't do it for me. 2 simple ways to make your photos pop have to do with correcting color.

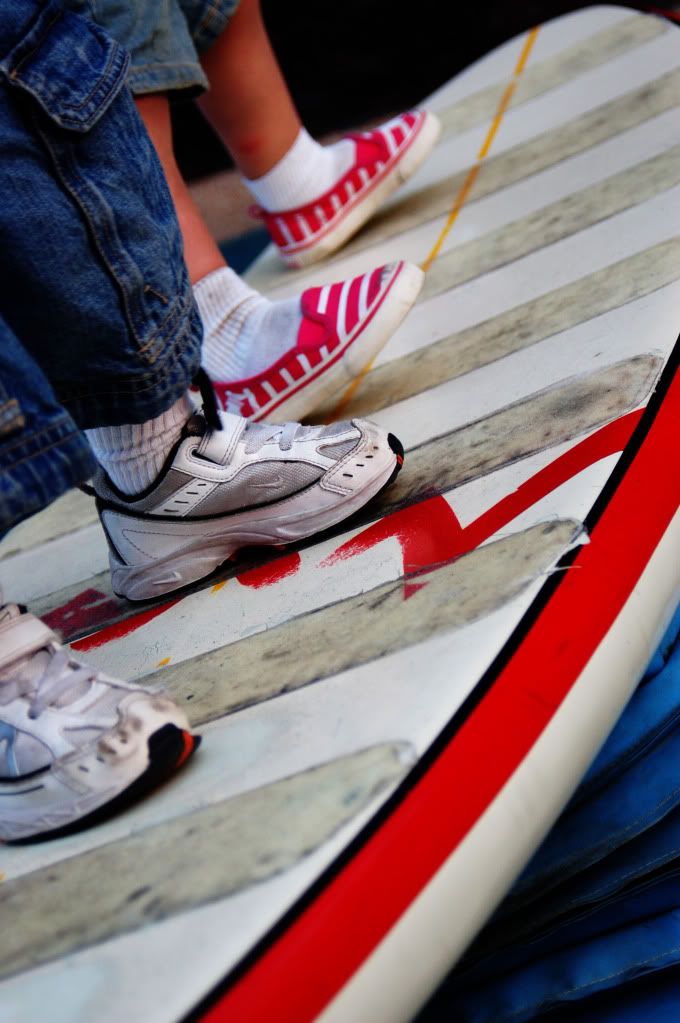
Option #1 correct color curves (in the above picture on the RIGHT). In photoshop select to adjust color curves. (Enhance--adjust color--adjust color curves) You will see a diagonal line and 4 sliders. Move the sliders until the sraight diagonal line looks more like the letter "s". You should see a difference as you will in the below photo with the color curves adjusted. Much brighter and pops out at you.


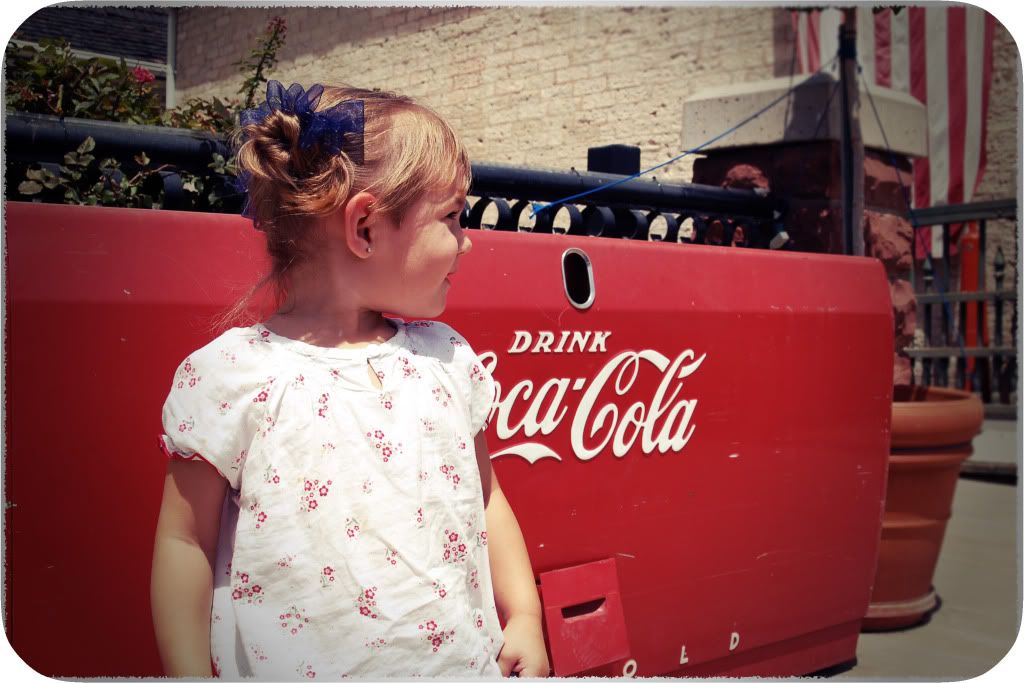
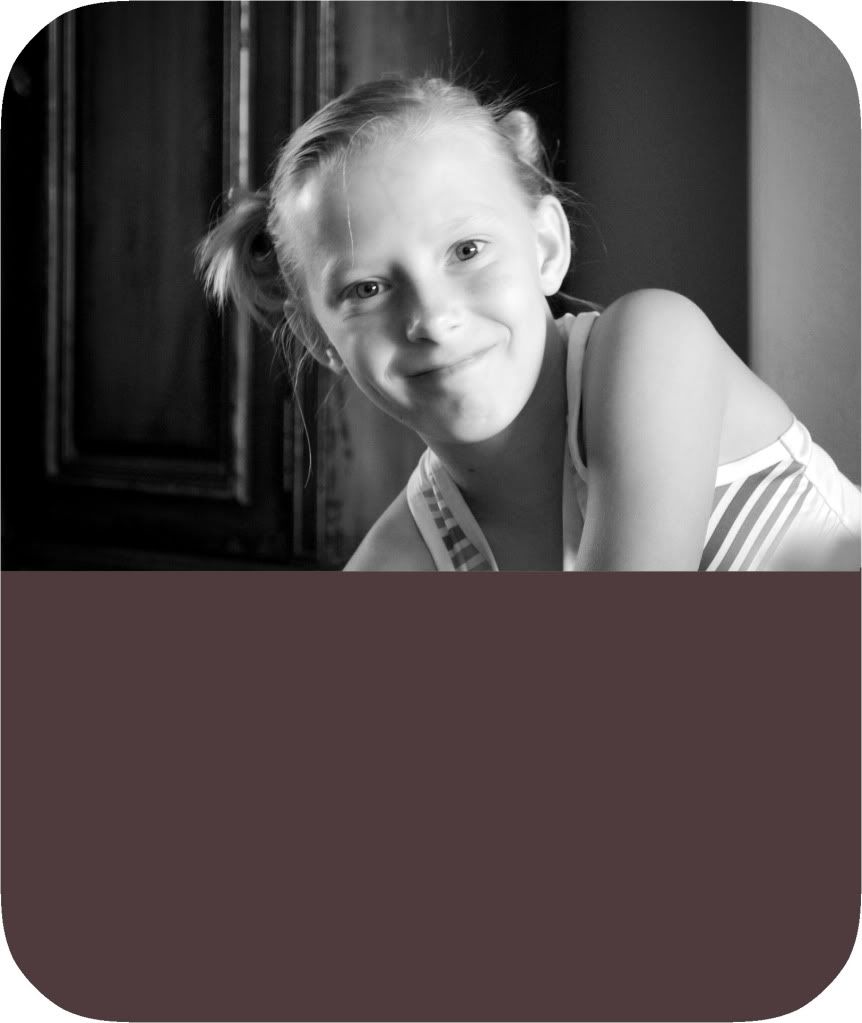
Option #2 might pop even more. In the photo below I changed the levels layer. Go to layers--levels layer. A box will pop up with 3 eyedroppers; black, white, and grey. Click on the black eyedropper and drag it onto your photo and click on something truly black in the photo. Then do the same with the white eyedropper. You are essentially telling it what black and white look like, so it will adjust the color in the photo accordingly. You may have to try it a few times to get it looking right. Sometimes the effect is too drastic and you may need to find a different black or white tone in the picture. You'll figure it out. The picture below was done this way and is a lot brighter than the previous. Which one do you like best?


Friday, August 21, 2009

Vintage and Lomography

I don't really love the actual photograph itself. It was a crazy hot day, and she didn't want to sit and pose.....but I loved the background and wanted to try to photoshop them for a vintage and lomo look.


Vintage-color


Vintage-Black and White


Lomography

Monday, August 17, 2009

What would I do without a "Layer Mask" ?

I am so thrilled to have a layer mask. Here is what it is? Let's say you want to add an ethereal glow or a blur to your image. Well, I tried this. I would make a selection around the person in the picture and then blur everything else. Even with a soft brush, it looked horrible. You could see the exact circle I drew around the person. Layer Mask saved me.
Essentially you can add any action to your photo, then you put a "layer mask" on the action layer in your layers pallette. You can then use the brush tool at a really low opacity and softness and by brushing over the person in the photograph, it will remove the effects of the action.
Here is a the original. I added an ethereal glow by Dave found at deviantart.com. Then I made a duplicate layer, so that I could add a gaussian blur to that. I then put a layer mask on the blur layer and removed the blur and glow from the face.


Here is with the effects added. You can see how the background is blury with an ethereal glow, but the person is not.


Here is the finished product with a little bit of powder room. I made the EYES stand out more. I also removed some discoloration in the lips using the clone tool. And of course, a little bit of burning to the edges.


So if you have photoshop elements like I do, then you may be confused on how I have a layer mask. Elements does not come with them. But the nice people over at coffee shop action, (see my side bar for the link) made a layer mask action for free. Thank you, thank you, thank you.

For a wonderful full tutorial on how to use layer masks, and what they are, click here on the pioneer women.

Monday, August 10, 2009

.:*'.:*Catch Light..*.:.*.., Paint Chip Photos, Rounded Corners


When it comes to portraits, I believe the single most important thing is the eyes. You want people to zone right into them. I am working on trying to get better catch light (meaning: when there is a small white glistening in the eyes produced from a light source.)

I know some people even create more catch light by reflecting light off of a white poster board and onto the person's face.
I am still trying to find the best places in my house and time of day to get the best catch light.

There are also ways that you can make eyes POP in photoshop. Now without making the person look alien-ish, you can magnify the image to the eye area. Use the burn tool at a low opacity and burn the edges of the iris and also the entire pupil. Then you can use the dodge tool, also at a los opacity to lighten the iris just a little bit. This worked really well on my blue-eyed sister to make her blue eyes more vibrant. But my daughter's rich chocolate eyes did not work because it made her look to alien-ish. She is meant to have rich dark iris'.

Paint Chip Photos and Rounded Corners
I found a great action that will round my corners with one easy button and saves me the work. I love the look of it. I also like to attach my photos to a solid color, almost like a frame to draw the viewer to the color in the photo.

Tuesday, August 4, 2009

Sorry I've Been Gone


Well ya know how summers are.......busy. But that doesn't mean I don't have some pictures and tutorials to share.
I am SOOOOOO excited. I am waiting for my new lens to be shipped. I have a standard 28mm-80mm, a zoom 70mm-100mm, macro lens, but nothing with an aperture greater than 3.3.
I got the 50mm f/1.4D. They recently just made the same lens in a G-series. But I think the D will be just fine. It will provide great bokeh, a great portrait lens because it is so fast. Soon to come, I have some posts on rounded corners, paint chip photos, catch light/making eyes pop, and using a layer mask and how to use one in PSE.............and much more, so stay tuned. In the meantime I came across some photos I really liked that were taken by my sister-in-law, Cassie a couple years ago. The only little thing I did, is that I did a little photo-shopping to Malissa's eyes in the picture with the butterfly. Cassie is my go to person to talk to about lenses. She loves photography and has entered some local contests and won. Way to go!!!!!!