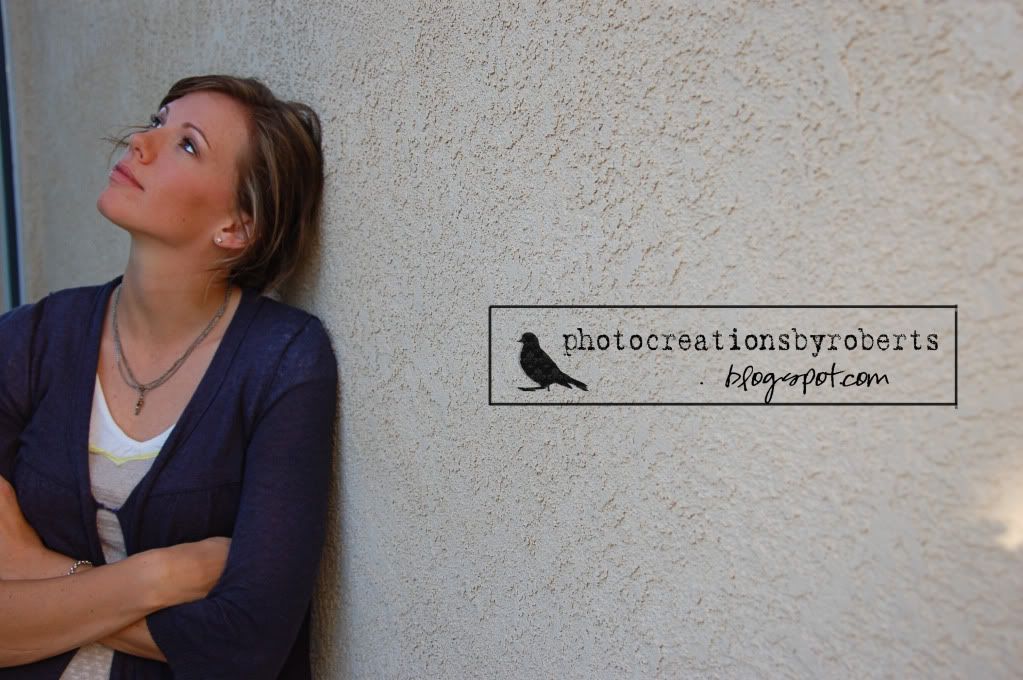
The logo you see on the photo above is a brush I made myself. Here is how I did it. First I opened a picture of a bird, see photo below. Of course, you could always draw a custom logo and scan it instead.
.JPG)
Then I took the magnetic lasso tool to carefully select the shape of the bird. I continued to expand the selection until I had it just right.
Next, I opened a new blank file to go on top of the bird selection. With that new layer selected, I clicked on my paint bucket tool (set at black) and then clicked on my selection in the photo. This then turned my selection all black, see photo below.

I then dragged the bottom layer (background layer) to the trashcan, since I do not need it anymore. Then I opened a new blank file at 2 inches tall and 10 inches long. I dragged my new black bird on top of the new blank file. I used a white damask brush at 50% opacity and stamped a pattern onto the bird. see photo below.

Then finally, I added some text and I used the line tool to draw a box. Now my brush is ready. I clicked on select--select all and then edit--define brush from selection. I named my brush and hit ok. Now my brush is the last brush in the brush pull-down menu. Now I just stamped that brush onto the first photo in this post.


No comments:
Post a Comment