Very, very easy to do. First, open a blank file at desired size. I chose 1" heighth x 3" width.
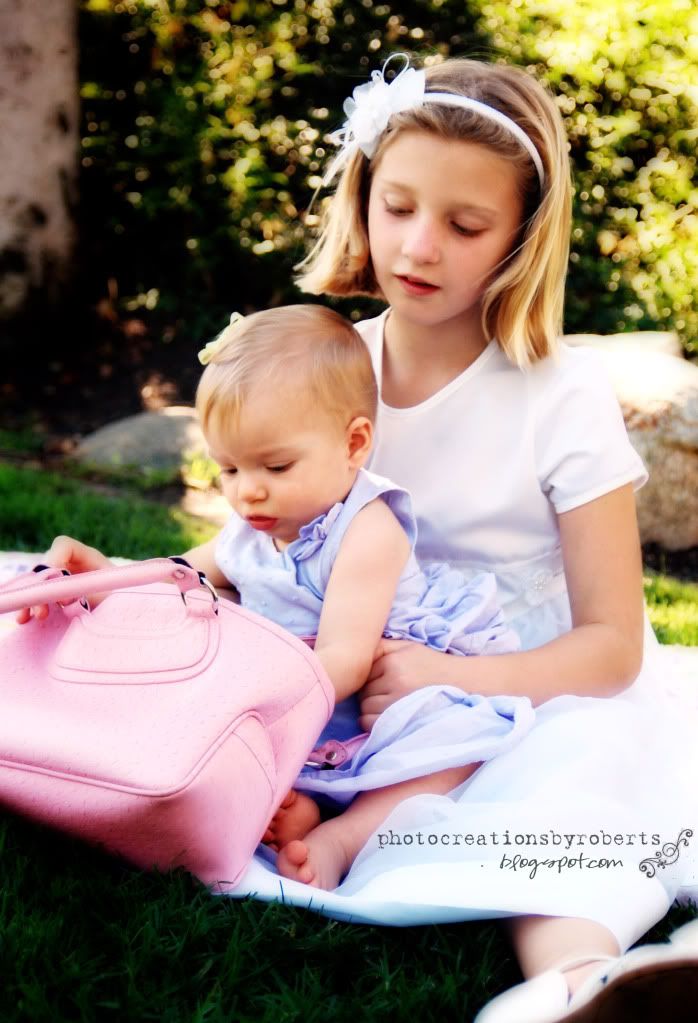
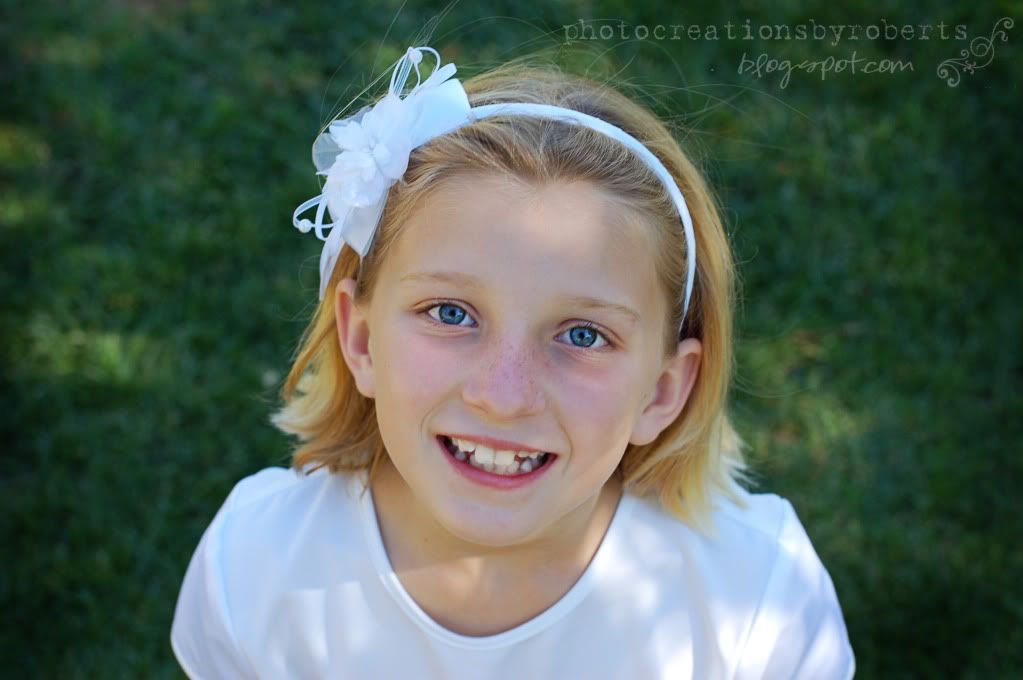
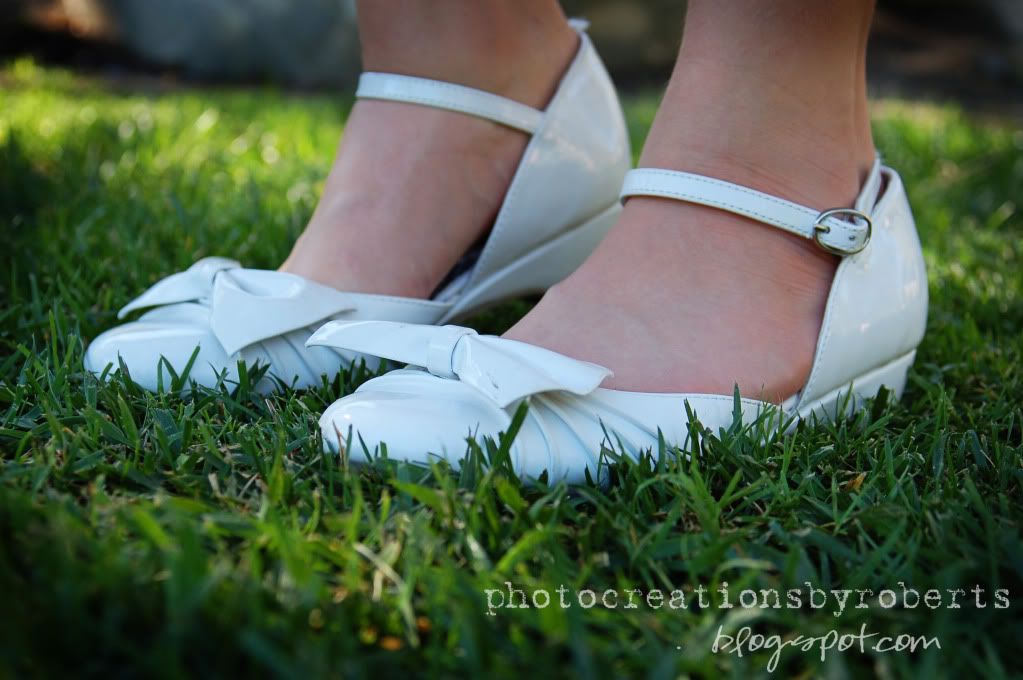
Then I used different text fonts and wrote my blogspots name in black. Then I opened up a swirly brush and stamped it next to the left of my text. Now, click on select-select all (to select your image). Then, click on edit-define brush from selection. Name your watermark in the pop up box and you are done. You will now see your image as a brush that you can now stamp onto any photo. You can choose any color and any opacity. You can see the first photo in this post is with a black brush, set at 75% OPACITY. The second is white at 25% and the last photo is white at 75%. You can adjust the brush size based on your photo. Now don't forget to SAVE your brush as an .abr file, so you can use it again. I always forget to save it, but when I select a new set of brushes, PSE sends a pop up box to remind me that I need to save it. Now it is always there for future use. If you want to save image onto your computer, be sure to save it as a .PNG file.


No comments:
Post a Comment