with a Brush

scroll down to my post about "Brushes". It explains it better. But a brush is essentially just like if you had a rubber stamp. I downloaded some 'grundge' and 'cracked-edges' brushes and just easily stamped it right onto the photo. In this picture I stamped in white.
Paint or Pencil tool
You could also select your paint or pencil tool and just draw or paint right onto the photo. In the picture above I just drew a bunch of diagonal black lines over the edges of the photo.
Actions
You can purchase or find free "ACTIONS" that do the work for you. You just click on the action and hit 'apply to photo'. See my post titled 'actions into actions' if you are not quite sure what they are. In this photo I applied a free action from the "COFFEE SHOP" in her borders collection. The link to the coffee shop is on my sidebar.
Digital Scrapbook Supplies

Very easy. A lot of digital scrapbook sites sell frames or you can find some free frames for download. I found this cute poloroid frame made by Andrea Rascaglia here....IT IS A FREE DOWNLOAD and she has several. Just click on this link. You just open your photo into photoshop, then click on file-place, and it will search your computer for where you saved the frame you downloaded. Once found, click on place and it will be placed onto your photo and you can then free transform it to fit.
Clipping Masks

ok, this is the hardest one to do, but I love the effect it gives. First off you have to download a clipping mask. Once in photoshop, open up a blank document. Then open up your clipping mask and drag it onto your blank document. Then drag your photo on top of the clipping mask layer. (at this point you can't see the clipping mask anymore, because the photo on top of it is hiding it). Now you just have to group the photo to the clipping mask. First: right click on your photo layer and simplify it (or else it won't group). Second: use the shortcut CTRL+G which is the shorcut for 'group with previous'. Now the two layers are merged as one.
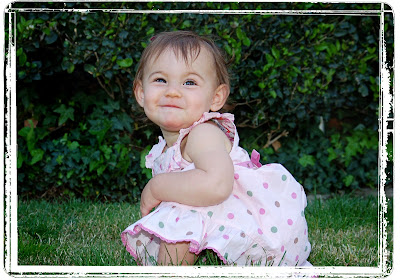
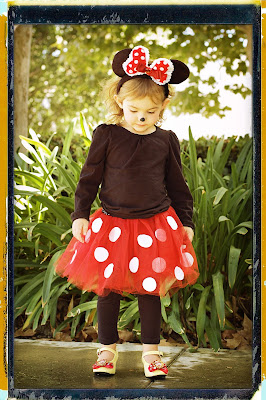
I got these two clipping masks seen in the two pictures below also at the coffee shop. From her site, click on goodies, scroll down and click on frames, then scrool down until you find the place to download her clipping mask collection. She gives a more detailed, step-by-step tutorial on how to download and use all of her products.


1 comment:
I love all the borders and details! You are also so photogenic! Great model shot!
Post a Comment