Saturday, August 29, 2009

Simple way to make a Photo go from blah to wow!


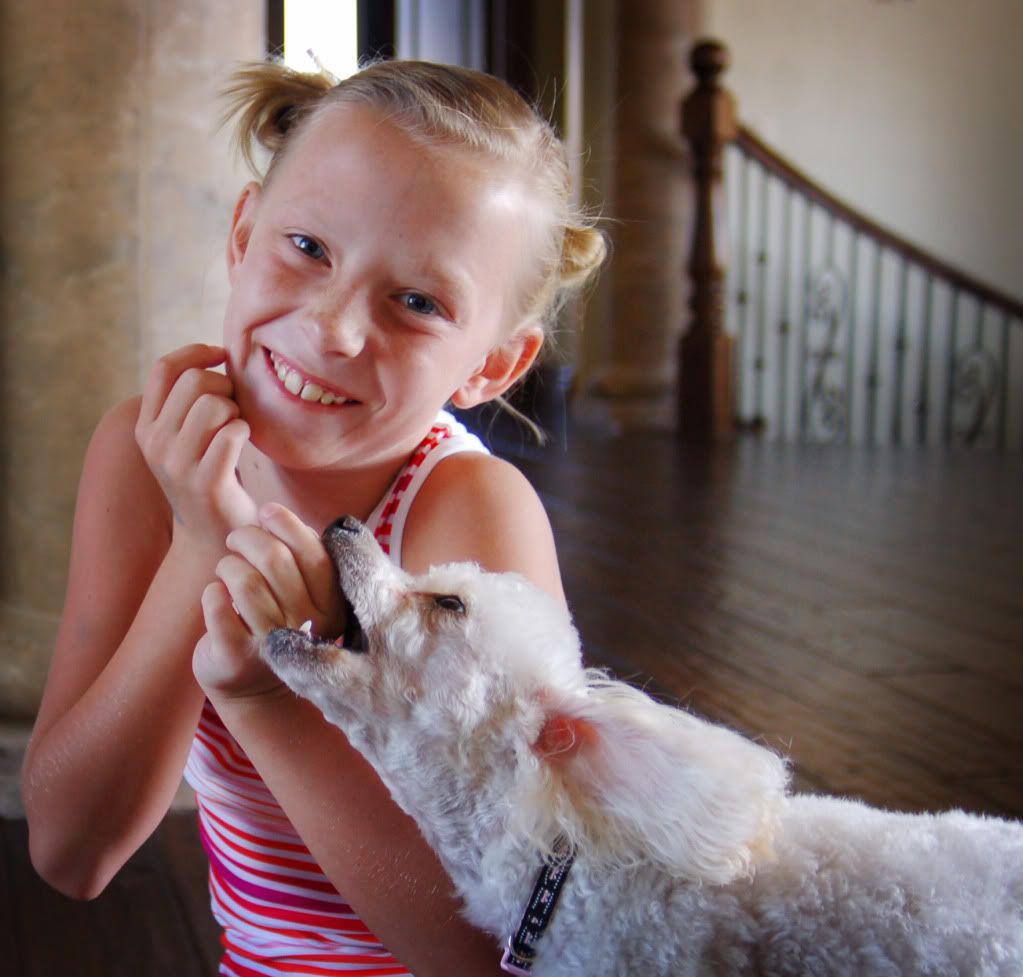
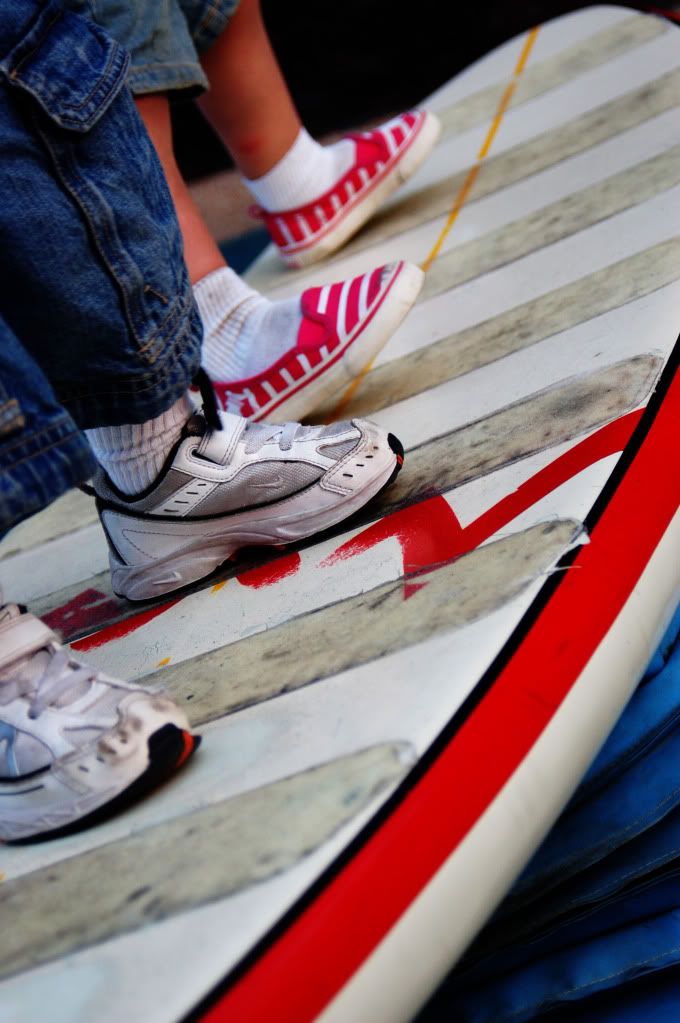
This photo is SOOC (straight out of the camera). But it just doesn't do it for me. 2 simple ways to make your photos pop have to do with correcting color.

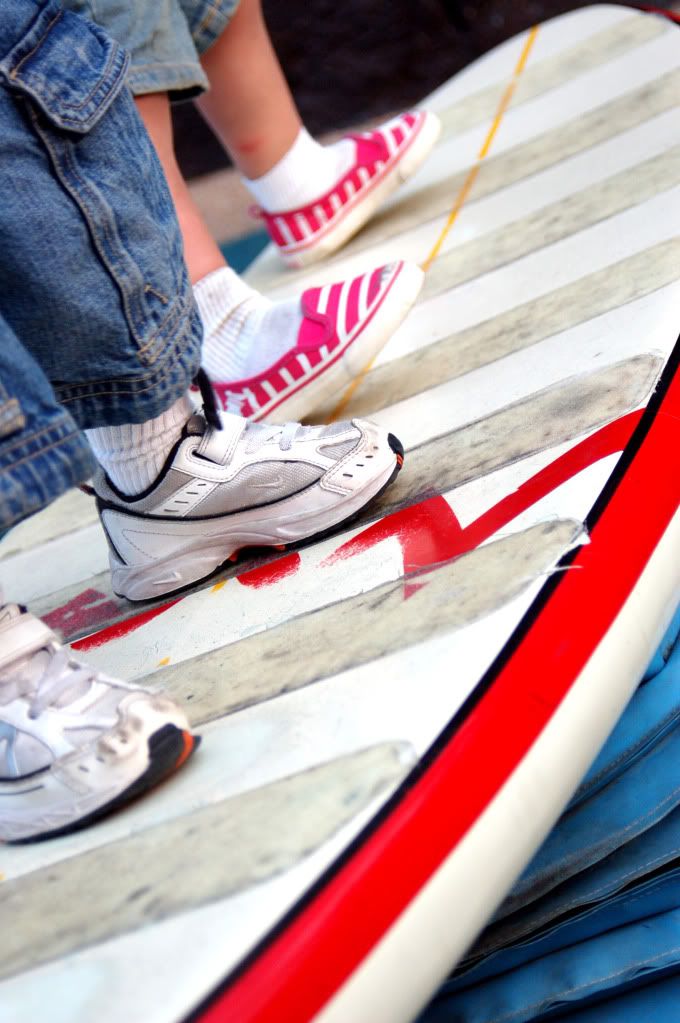
Option #1 correct color curves (in the above picture on the RIGHT). In photoshop select to adjust color curves. (Enhance--adjust color--adjust color curves) You will see a diagonal line and 4 sliders. Move the sliders until the sraight diagonal line looks more like the letter "s". You should see a difference as you will in the below photo with the color curves adjusted. Much brighter and pops out at you.


Option #2 might pop even more. In the photo below I changed the levels layer. Go to layers--levels layer. A box will pop up with 3 eyedroppers; black, white, and grey. Click on the black eyedropper and drag it onto your photo and click on something truly black in the photo. Then do the same with the white eyedropper. You are essentially telling it what black and white look like, so it will adjust the color in the photo accordingly. You may have to try it a few times to get it looking right. Sometimes the effect is too drastic and you may need to find a different black or white tone in the picture. You'll figure it out. The picture below was done this way and is a lot brighter than the previous. Which one do you like best?


Friday, August 21, 2009

Vintage and Lomography

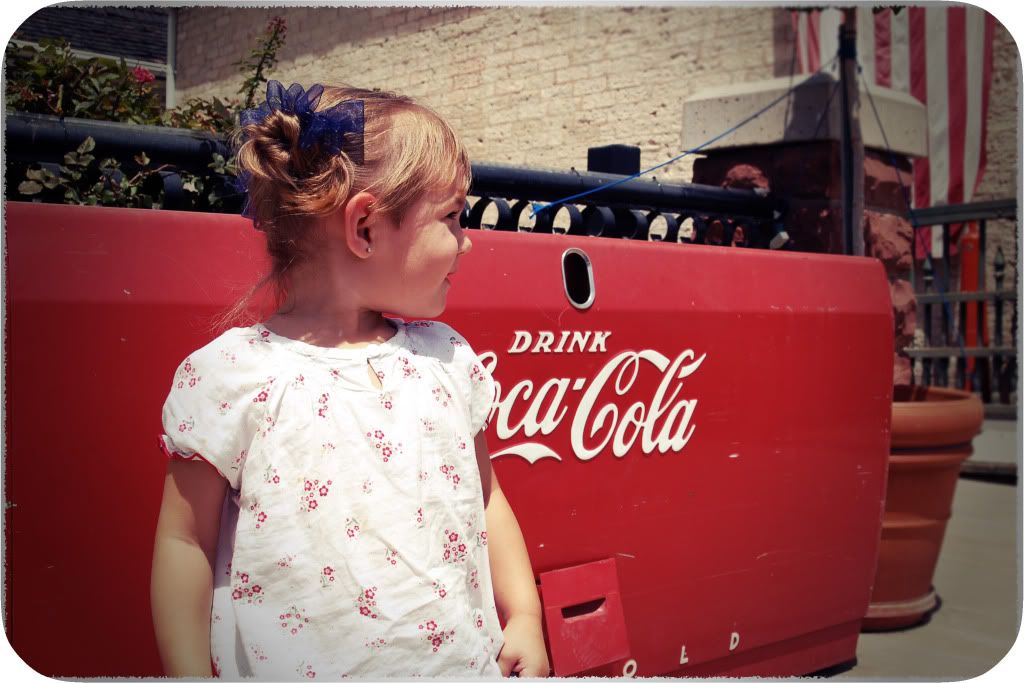
I don't really love the actual photograph itself. It was a crazy hot day, and she didn't want to sit and pose.....but I loved the background and wanted to try to photoshop them for a vintage and lomo look.


Vintage-color


Vintage-Black and White


Lomography

Monday, August 17, 2009

What would I do without a "Layer Mask" ?

I am so thrilled to have a layer mask. Here is what it is? Let's say you want to add an ethereal glow or a blur to your image. Well, I tried this. I would make a selection around the person in the picture and then blur everything else. Even with a soft brush, it looked horrible. You could see the exact circle I drew around the person. Layer Mask saved me.
Essentially you can add any action to your photo, then you put a "layer mask" on the action layer in your layers pallette. You can then use the brush tool at a really low opacity and softness and by brushing over the person in the photograph, it will remove the effects of the action.
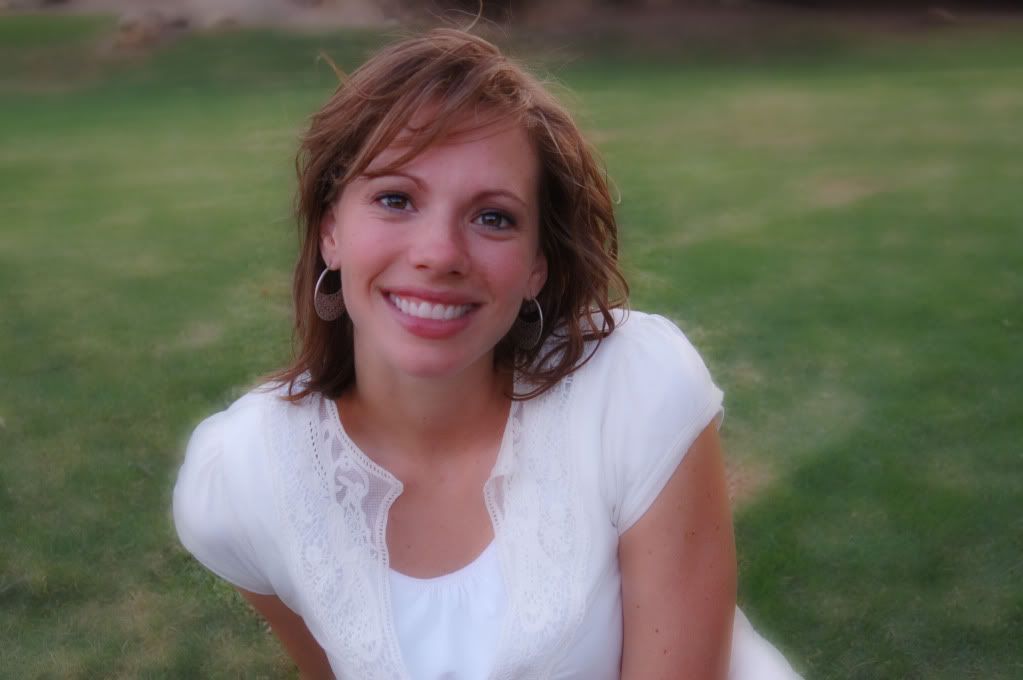
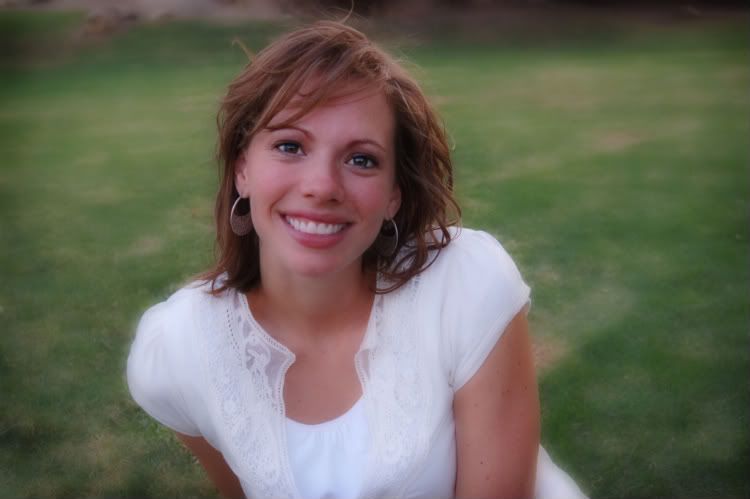
Here is a the original. I added an ethereal glow by Dave found at deviantart.com. Then I made a duplicate layer, so that I could add a gaussian blur to that. I then put a layer mask on the blur layer and removed the blur and glow from the face.


Here is with the effects added. You can see how the background is blury with an ethereal glow, but the person is not.


Here is the finished product with a little bit of powder room. I made the EYES stand out more. I also removed some discoloration in the lips using the clone tool. And of course, a little bit of burning to the edges.


So if you have photoshop elements like I do, then you may be confused on how I have a layer mask. Elements does not come with them. But the nice people over at coffee shop action, (see my side bar for the link) made a layer mask action for free. Thank you, thank you, thank you.

For a wonderful full tutorial on how to use layer masks, and what they are, click here on the pioneer women.

Monday, August 10, 2009

.:*'.:*Catch Light..*.:.*.., Paint Chip Photos, Rounded Corners


When it comes to portraits, I believe the single most important thing is the eyes. You want people to zone right into them. I am working on trying to get better catch light (meaning: when there is a small white glistening in the eyes produced from a light source.)

I know some people even create more catch light by reflecting light off of a white poster board and onto the person's face.
I am still trying to find the best places in my house and time of day to get the best catch light.

There are also ways that you can make eyes POP in photoshop. Now without making the person look alien-ish, you can magnify the image to the eye area. Use the burn tool at a low opacity and burn the edges of the iris and also the entire pupil. Then you can use the dodge tool, also at a los opacity to lighten the iris just a little bit. This worked really well on my blue-eyed sister to make her blue eyes more vibrant. But my daughter's rich chocolate eyes did not work because it made her look to alien-ish. She is meant to have rich dark iris'.

Paint Chip Photos and Rounded Corners
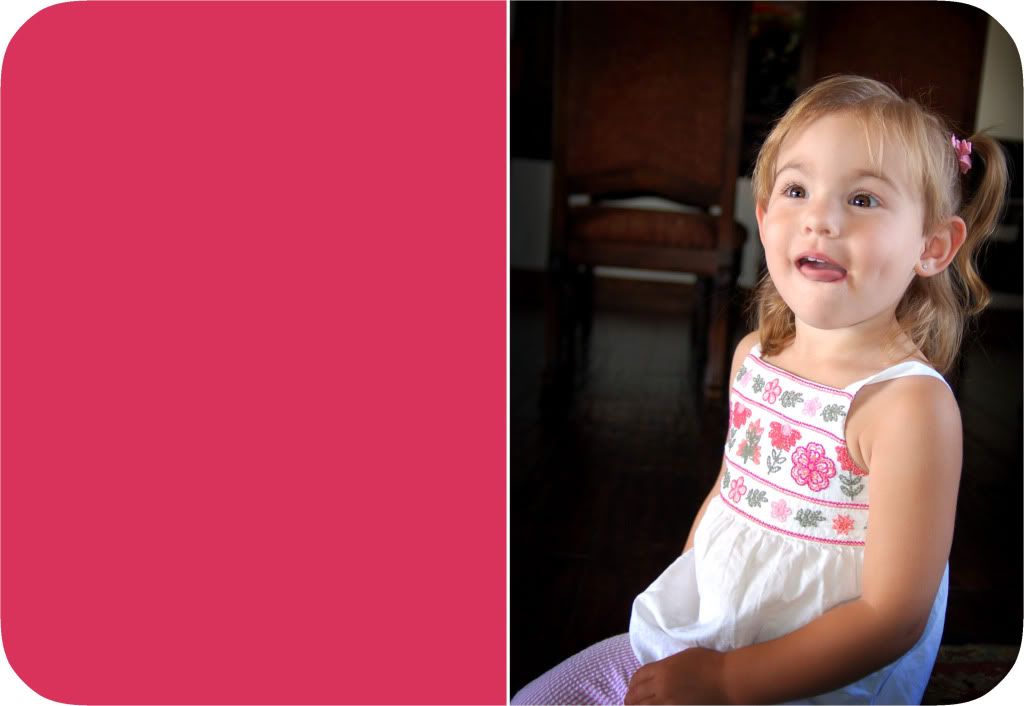
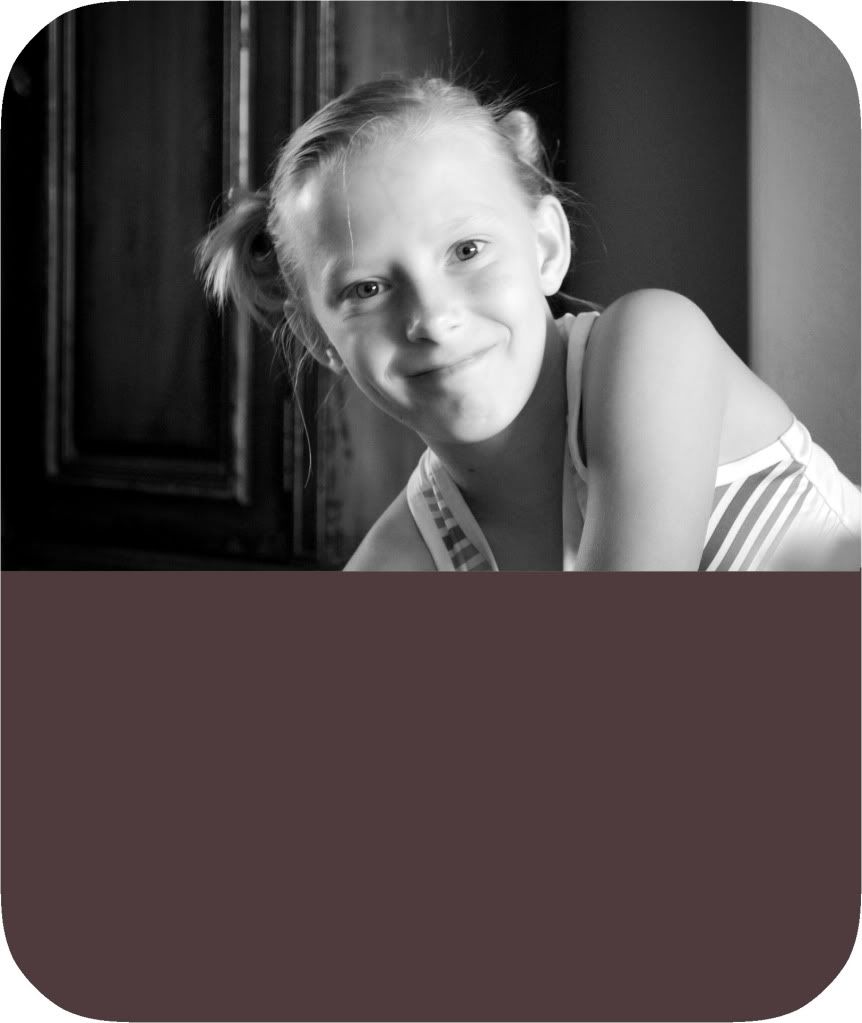
I found a great action that will round my corners with one easy button and saves me the work. I love the look of it. I also like to attach my photos to a solid color, almost like a frame to draw the viewer to the color in the photo.

Tuesday, August 4, 2009

Sorry I've Been Gone


Well ya know how summers are.......busy. But that doesn't mean I don't have some pictures and tutorials to share.
I am SOOOOOO excited. I am waiting for my new lens to be shipped. I have a standard 28mm-80mm, a zoom 70mm-100mm, macro lens, but nothing with an aperture greater than 3.3.
I got the 50mm f/1.4D. They recently just made the same lens in a G-series. But I think the D will be just fine. It will provide great bokeh, a great portrait lens because it is so fast. Soon to come, I have some posts on rounded corners, paint chip photos, catch light/making eyes pop, and using a layer mask and how to use one in PSE.............and much more, so stay tuned. In the meantime I came across some photos I really liked that were taken by my sister-in-law, Cassie a couple years ago. The only little thing I did, is that I did a little photo-shopping to Malissa's eyes in the picture with the butterfly. Cassie is my go to person to talk to about lenses. She loves photography and has entered some local contests and won. Way to go!!!!!!

Tuesday, June 16, 2009

Photographing Children

I love this article. Just click the link. It gives great ideas on what to think about before taking a picture like
Background
Abstract
Angles (different viewpoints)
Posing
Taking picture at their level
candid approach
It also dicusses camera setting such as aperture, ISO, and type of lens

Monday, June 1, 2009

Understanding your camera

For the record I am NOT a photographer at all. My husband really enjoys it, especially landscape, wildlife, nature, etc. However, I am more interested in photos of people. I love to take his photos and then photoshop them. Here is the problem; Most of his experience is with nature, not people. So, I am now taking a larger interest in the photo taking itself rather than just the "behind the scenes" photoshopping so that I can capture people pictures knowing how I would photoshop it later.

We have the NIKON D50. Here is a great link that can help you to better understand your camera settings. Click HERE.


Here are some of my husbands nature shots, he has SO MANY to choose from

Friday, May 29, 2009

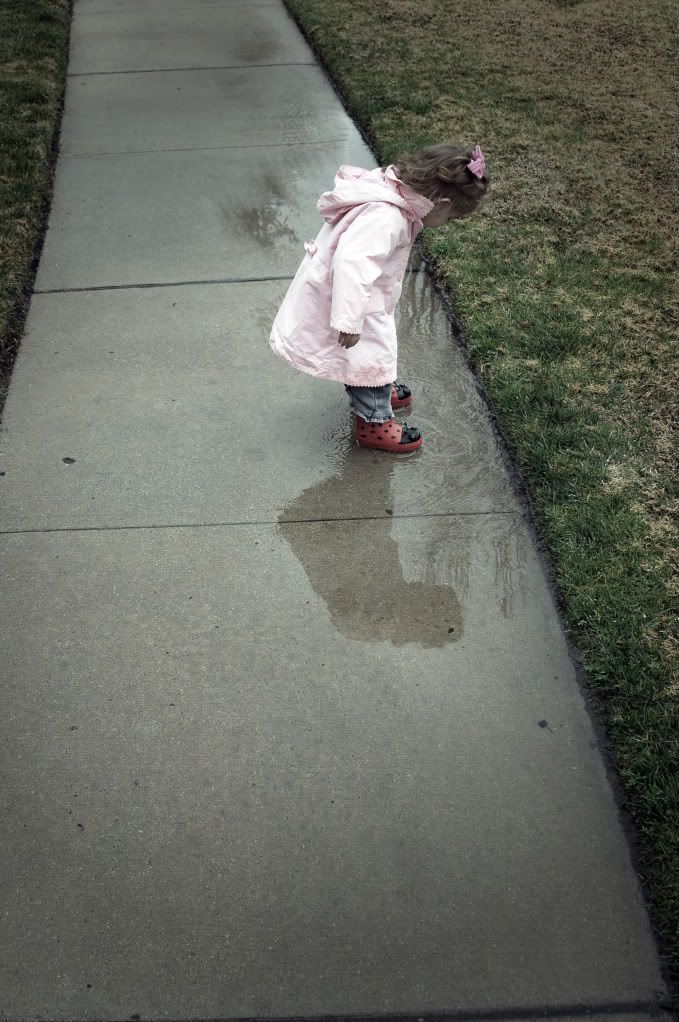
a RAINY day


Wednesday, May 20, 2009

Examples of the previous post (coffee shop)

If you are not quite sure if downloading actions is worth the time, check out my before and afters. One thing I love about the coffee shop actions is that they are all adjustable to taste. So although one of my images may not be exactly your style, you can adjust it to your own individual style. I really like the look of URBAN photography (bright colors, or muted colors, increased contrast, and lighting)

------------original--------------------- with Barista action applied


original ------------------------------------see detail below---------- rasberrry tea action------

with sweet bakery glazes applied in the above middle picture (you can choose from 5 types of glazes, this one is strawberry. The "glaze" is what adds the soft blur effect)

----------original------------------------- see detail below--------

with Vivid action applied (you can choose 4 options: soft, vivid, bright, or urban) this one is using soft
with Vivid action applied using the urban option

------Original-------------------------- with vivid action using the bright option


Original ------------------------------------------with color pop pro action and a vignette added

Monday, May 18, 2009

The Coffee Shop-A MUST HAVE

Most actions are sold for photoshop CS and it is hard to make them work in elements. I really wanted to purchase ADOBE Lightroom, it is rather expensive and I don't think it will work in elements.

I recently found a website in which the blog author makes her own actions and provides them as FREE downloads. She is wonderful. She is called the Coffee Shop. Click here. Then from her site, click on "actions". Once page loads, then scroll down. She has at least 20 actions you can click on that will then take you to a page that you can download them. Creat a file folder on your computer that you want to download them into. Once downloaded, unzip (extract) the downloaded file. Next you need to install it into your photoshop program. Click here to learn to to install based on which PS version you have and what type of computer (XP, Vista) that you have. If you have a mac, click here for installing directions. Just scroll down the page until you see a link that says "install using MAC"

If you do have CS, then I would highly check out Delight. They have amazing actions that I would love to try.

Monday, May 11, 2009

Brushes, how to install, what they do

I was once very confused on what brushes actually are. Yes, they are exactly what you think they would be, but much more. Your software should come with several installed brushes, that would allow you to paint with any color directly on your project. But brushes are also STAMPS. You would just select your brush of choice, change the color and size and click on you project ONCE rather than holding the mouse button and dragging it like you would if you were painting.

Here are some of my brushes that I stamped onto a white background. I have lace and doily's, damask, doodle, and my favorite is the grundged edges or cracked edges. Just google Free photoshop (your program here) brushes and you are sure to find many sites that will let you download them for free like this one here: http://myphotoshopbrushes.com/brushes. I haven't actually used them so I don't know how good they are.
HOW TO INSTALL THE BRUSH: usually when you download a brush, they will tell you how to install it. Here is how I installed it onto my Windows Vista for Photohop Elements 6. It should be similar and pretty easy to do. Unzip the downloaded folder. Then copy that folder into the BRUSHES folder, by following this path: Local Disk (C:)-program files-adobe-photoshop elements 6.0-presets-brushes. Then the next time you open up your software (photoshop), click on the brush tool and scroll through the different types of brushes until you see the one you installed.
NOTE: sometimes it may take a few hours for your software to realize the new brushes have been installed

Monday, May 4, 2009

Shortcuts for Photoshop

Here is a list of shortcuts that make photoshop so easy, especially for making signs, posters, digi-scrapping,etc. At least, I know they work in Elements, not sure about CS.

CTRL-N opens a new blank file
ALT-CTRL-N opens a new blank file the same size as the previous
CTRL-O open
CTRL-S save
Shift-CTRL-S save as
CTRL-Z undo
CTRL-C copy
CTRL-V paste
Shift-CTRL-V paste into
CTRL-J new layer/ via copy
CTRL-G group with previous
CTRL-E merge
shift-CTRL-I inverse selection
Esc. de-select

And so long as you are not in "Type mode", you just have to hit the following letters for their shorcut:

V move tool
Z zoom tool
I eyedropper tool
M marquee tools
L lasso tools
W magic wand
A selection brush
T type tools
C crop tool
Y red eye removal
E eraser tools
B brush tools
G gradient tool
U shape tools
D default colors (black and white)
X swap foreground and background colors

ALT-backspace fill with foreground color
CTRL-backspace fill with background color
use the bracket keys [ ] to adjust brush sizes

Tuesday, April 28, 2009

Urban Photo Calendar

What a cute Idea. Take photographs off letters and numbers and crop them to 1 inch by 1 inch and then clip them together to make a calendar. At the end of each month, rotate the numbers. The good thing is that you only have to rotate the columns because for example, 14,21,and 28 will always be under 7. I made one, but tried using paperclips..........I need to find the clips that this person used. Or you could put a magnet on the back of each number and magnet them to a magnet board you can get from office depot.

Monday, April 20, 2009

Filters


Several filters come built in with your photoshop software, including effects to make your photo look like a sketch, a cartoon, blurred, texturized, etc. I like to use these for my backgrounds.
So I use the selection brush to select the foreground. Of course, I magnify the image, so I can get every little pixel. Then I invert the selection, so the background is selected, then I apply my desired filter. This pic is using a film grain filter


and this one is using a stained glass filter.

Friday, April 10, 2009

I Love Lomography

This first picture is photoshopped to look like lomo. There is a type of old, crappy Russian camera (Lomo) that produces pictures like these. But todays standard camera can't accomplish this look........................but after several photoshop steps, you can achieve this look. I use PS-Elements 6.0, so I will tell you how I did it, then you can modify it to your individual software.

photoshopped image to look like Lomo


naked or SOOC(straight out of camera)

1.First, create a vignette (this causes the edges to become darker) by using the lasso tool and tracing a circle around the object in the picture. Inverse the selection. Now go to layers-new adjustment layer-levels. Move the middle slider arrow to the right until you reach desired effect. Here is what your picture will look like now. Merge layers

2. Now click on Enhance -adjust color-adjust color curves. Move the sliders to create a slanted "s". You really only need to move 2 sliders to do so.
3. Now click on Enhance -adjust color-adjust hue/saturation. Move the hue slider slightly to the left until you get desired effect. (I move the hue to -15)
4. Now create a fill layer and using the paint bucket, fill the layer with black. Click on that layer in your layers pallette and adjust the opacity. I put mine at 10% opacity.
5. Now click on Enhance-Unsharp Mask. Put it at 50% and increase the radius (I put mine at 35) and set the threshold to 0.
6. As an option, you can try a different mode. Click on Image-Mode-Indexed color. If you don't like the effect then Edit-Undo. Merge all layers and save as a JPEG.
And there you have it. I am hoping that somebody will make an action that will do all these steps with the click of a button. I'll keep looking for one. Click here to the coffee shop actions. She does have a free downloadable vignette action that will save you some time.

Monday, April 6, 2009

Photo Board Books


I love making photo books and I just found a company that will make board books. Check out blank slate. With other companies you send them the pictures and they print the book and are pretty expensive. With this company, they send you the blank board book and adhesive printing labels and you just print from home. I'm trying to find a way to laminate it better, so that it lasts longer. I found some great kid friendly images online and uploaded them into photoshop and added my own text. You could use photographs instead of pictures, though.