
.JPG)
.JPG)


 What a cute Idea. Take photographs off letters and numbers and crop them to 1 inch by 1 inch and then clip them together to make a calendar. At the end of each month, rotate the numbers. The good thing is that you only have to rotate the columns because for example, 14,21,and 28 will always be under 7. I made one, but tried using paperclips..........I need to find the clips that this person used. Or you could put a magnet on the back of each number and magnet them to a magnet board you can get from office depot.

.JPG)


.JPG)
.JPG)


http://www.theshabbyshoppe.com/tutorials/software_tutorials.asp


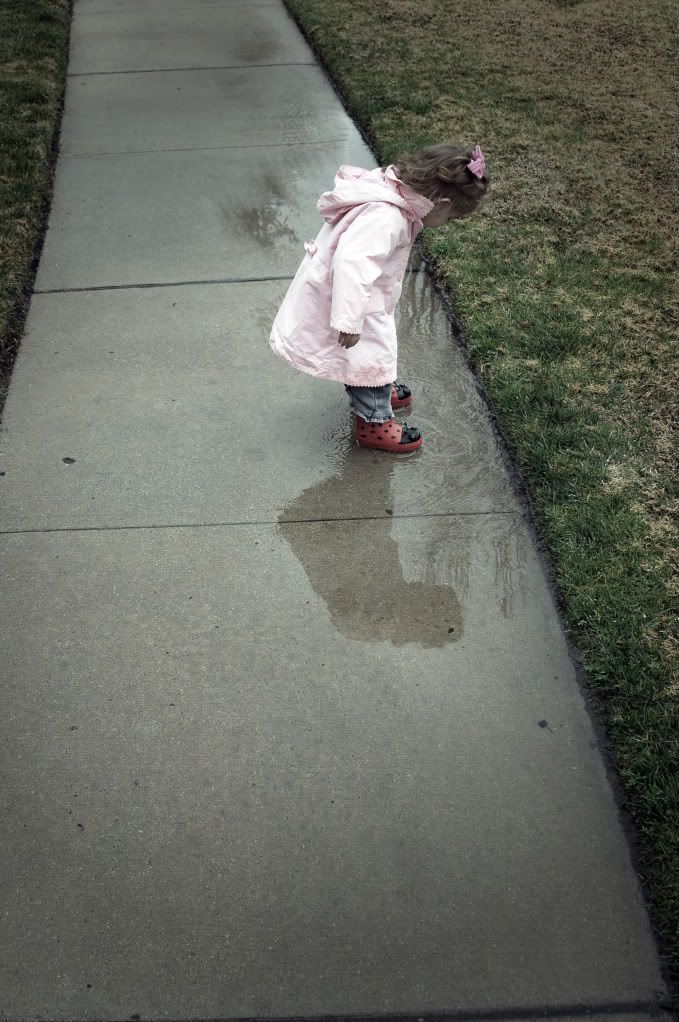
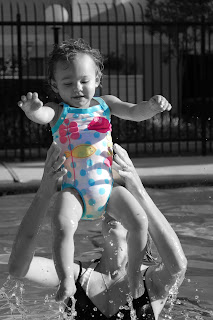 The first photo I like to refer to as "peek-a-boo" color. Start with a colored photo. The easiest way to do this is to use the selection brush and paint over the section you want to keep colored. (Be sure to magnify your image, so you can paint as close to the edges as possible to get every pixel). Then, inverse your selction, so the background is now selected. Then, choose 'convert to black and white'. Only your selected area will become black and white. It's that easy.
_edited-2.jpg)


.JPG)
.JPG)

 This is so cool. Go to http://metaatem.net/words/ and you can type in any word and it will pull up photos of letters to spell the word you chose. If you have ever seen those really expensive framed pictures that take your last name with cool letter photos like these and then they matte it into a frame and sell it for like $50++++++++.
 Now all you have to do is choose your word, right click on each letter and save it. Upload it to your favorite photo developer and frame it yourself. Tip: on the "spell with flickr" website if you left click on the letters, it will give you several different photos to choose from for each letter.


.JPG)


